Cambodia eVisa Photo Background Tips for Australians (2026)
Plain white or off-white is the rule, but 'plain' is what trips most Aussies up. Door frames, beige hallways, curtain patterns, and the soft head-shadow that always shows up one metre back from a wall — here is how to get the Cambodia eVisa photo background right from your own home in thirty seconds.
How do I get the Cambodia eVisa photo background right from home in Australia?
Hang a clean white cotton bedsheet flat over a wardrobe, or stand 30 to 50 cm in front of a plain matte white interior wall in Dulux Vivid White, Antique White, Whisper White, or Natural White. Use soft natural daylight from a side window, not overhead lighting. Step in close to the wall to flatten any shadow behind your head, then position your light at a 45-degree side angle to push the shadow out of frame entirely. Avoid beige hallway walls, walls with skirting boards visible, curtain backdrops with any pattern, and walls with picture hooks or frames. The Cambodia validator does an edge-detection scan over the background pixels and flags anything other than a clean uniform white field. The shoot is over in thirty seconds, and Tourist eVisa stays at $80 USD (~$122 AUD) all-in, approved in 3 business days, delivered as a printable PDF by email, with free resubmission if Immigration flags a correction.
Key Takeaways
- Cambodia's 2026 eVisa photo rule on background: plain white or off-white only. No door frame, no skirting board, no painting on the wall, no curtain pattern, no shadow behind the head.
- Dulux Vivid White, Antique White U.S.A., Whisper White, and Natural White all clear the validator's white-balance check. Beige hallway walls do not.
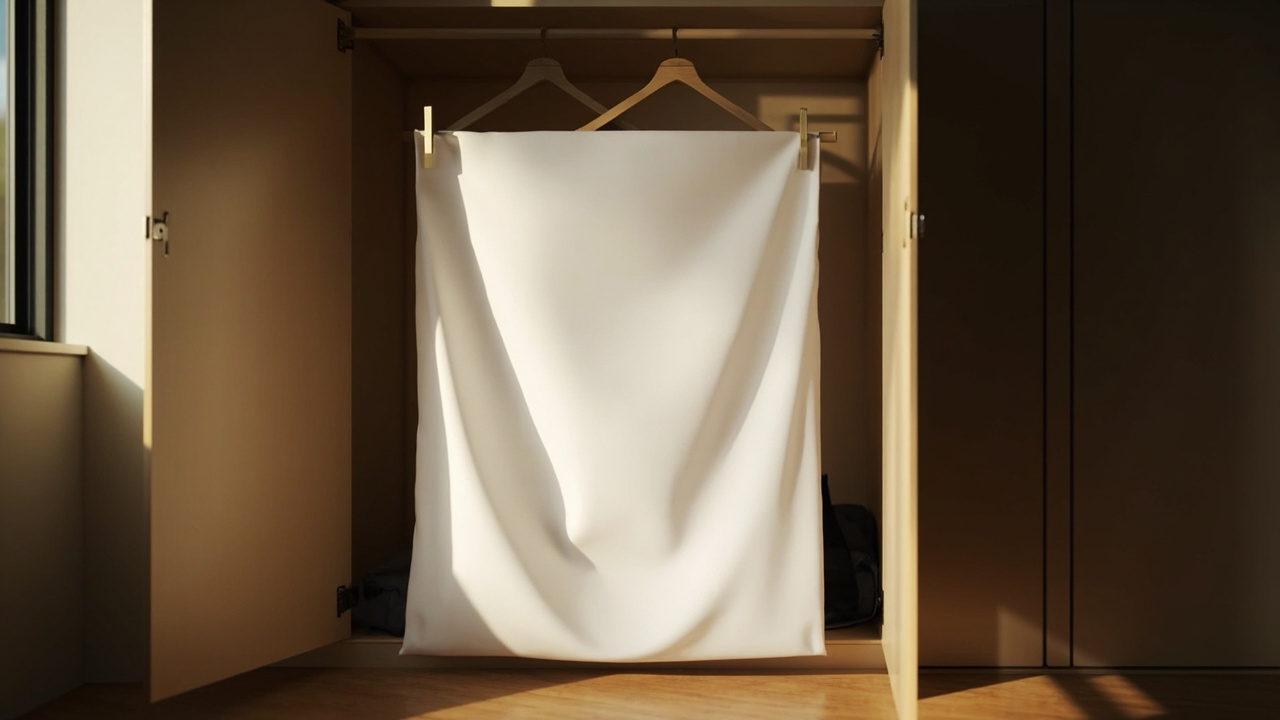
- A clean white cotton bedsheet hung flat over a wardrobe gives you a portable background that travels with you to any room in the house.
- The soft shadow that always appears 1 metre behind the head is the most common Aussie home-shoot fail. Fix it by stepping closer to the wall AND moving the light source to the side.
- The iPhone Photo Booth white-background shortcut is fine for inspiration but the Cambodia validator detects digitally replaced backgrounds. Shoot against a real wall.
- Free resubmission if Immigration flags a correction is standard, but a background-related resubmission still costs 1 to 2 business days off the 3 business days processing window.
Why the background rule trips up so many Aussies in 2026
Of every ten Aussie home-shot eVisa photos flagged by Cambodia's validator each week, four are flagged for the background. That is a higher hit rate than glasses, lighting, or expression. The reason is simple — most Australian homes are not built with a passport-photo wall in mind, and the wall the applicant defaults to is rarely as plain as they think.
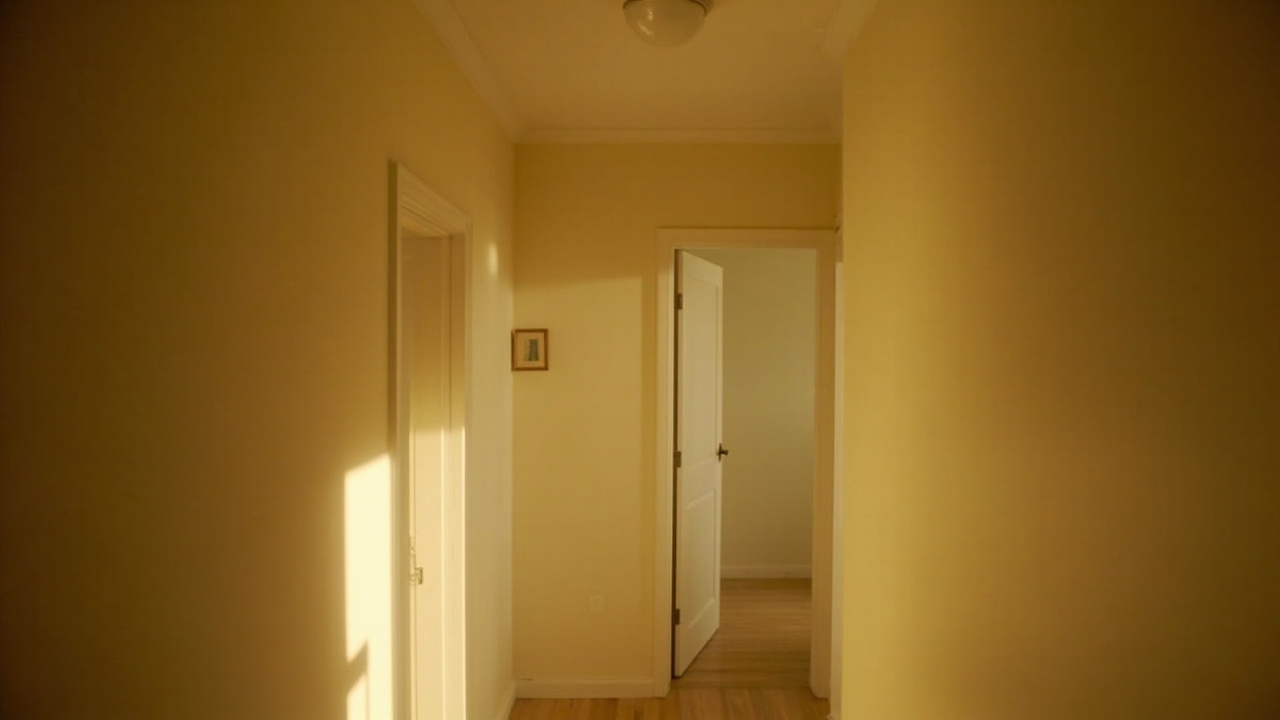
The Cambodian eVisa validator runs an edge-detection scan over the background pixels of every uploaded photo. It is checking for one thing: a clean, uniform, light-coloured field with no shapes, no patterns, no shadow gradients, and no obvious objects. Beige hallway walls flag. Door frames that creep into the upper-right corner flag. Skirting boards visible behind the shoulder flag. A floral curtain hung as a backdrop flags. The validator is looking for plain — and plain is harder to achieve at home than it sounds.
This guide walks through what 'plain' actually means in 2026, the colours that pass, the bedsheet workaround, the counterintuitive shadow fix, and the common Aussie mistakes that send applications back. If you want the full picture before applying, the Cambodia eVisa photo requirements for Australians covers all the specs end-to-end. For the full eligibility picture, the Cambodia visa requirements for Australians hub is the canonical source.
This is part of the broader Aussie photo-compliance series. The self-take iPhone guide covers framing and posture; the photo-rejected troubleshooting guide covers what to do if the background flag lands in your inbox. Either way, the background rule sits underneath every Cambodia eVisa photo.
What 'plain white' actually means in the 2026 rule
Cambodia's published rule reads 'plain white or off-white background' — three short words that hide a lot of nuance. Here is what the validator actually checks for and what counts as plain in practice.
Frequently asked questions
What background colour does the Cambodia eVisa photo need?
Plain white or off-white. The validator runs an edge-detection scan over the background pixels and a white-balance check on the overall tone. Dulux Vivid White, Antique White U.S.A., Whisper White, Natural White, Lexicon Quarter, and Lexicon Half all pass. Beige hallway walls, magnolia, taupe, pale grey, and any feature-wall colour fails. If your home does not have a passing wall, hang a clean white cotton bedsheet flat over a wardrobe — that workaround is used by about 30 percent of Aussie home shoots and passes the validator without trouble.
Can I use a white bedsheet as the eVisa photo background?
Yes — it is the most popular Aussie home-shoot workaround. Choose the flattest cotton bedsheet you own, iron it first or hang it overnight to drop the creases, peg it taut along the top edge so it hangs vertically without sag, and position it about 1.2 to 1.5 metres in front of where you will stand. Avoid sheets with embroidery, patterns, or any tonal variation. Stand 30 to 50 cm in front of the sheet so it extends 20 to 30 cm past your shoulders on either side and fills the full background area.
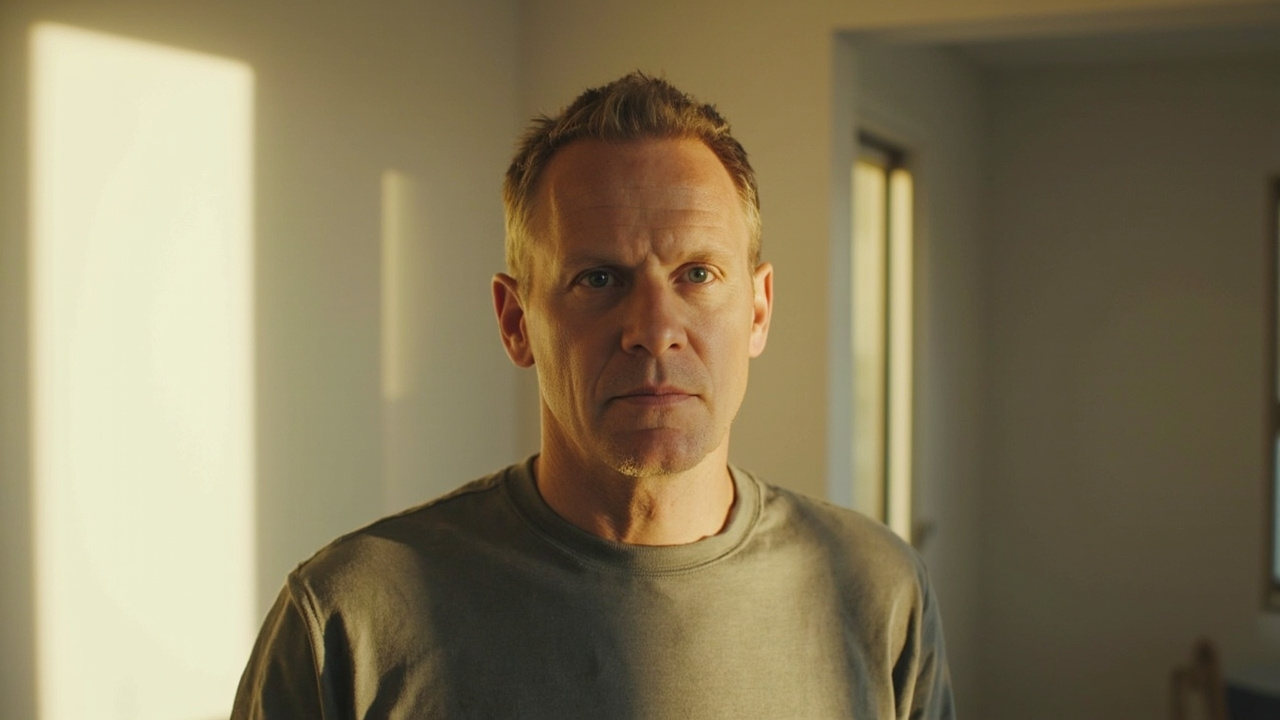
Why does a soft shadow appear behind my head?
When you stand 1 metre or more in front of a wall and your light source is in front of or above you, your head blocks some of that light from the wall directly behind. The result is a soft head-sized shadow that the validator picks up as a non-uniform background. The fix is counterintuitive — step closer to the wall (30 cm or less, not further away) and move your light source from front-facing to side-facing at about 45 degrees. The closer you are to the wall, the smaller the shadow zone becomes; side-lighting pushes residual shadow horizontally out of frame.
Can I use the iPhone Photo Booth white-background effect?
No. Cambodia runs a manipulation-detection layer on top of the standard photo validator. The iPhone Photo Booth white-background filter, the Photos app 'replace background' tool, and any AI background-removal service all leave a small halo of mismatched pixels around the head outline that the system flags. Edited backgrounds get sent back for resubmission and move the application to a higher manual-review tier, costing 2 to 4 extra business days instead of the normal 1 to 2 day resubmission delay. Shoot against a real wall or real bedsheet.
Is a beige or magnolia wall close enough to off-white?
No — and this is the single most common Aussie home-shoot fail. Australian property colour palettes from 2005 onward leaned heavily on warm magnolia and beige tones that look almost white to the eye but read as yellow-tinted on the validator's white-balance check. If your hallway wall looks even slightly creamy in good light, it will flag. Switch to a different room with a truer white wall (Vivid White, Whisper White, Natural White), or hang a clean white bedsheet over the beige wall as a backdrop.
Sources
Did this guide help you?
From our blog
Trip Planning
Things to Know Before Traveling to Cambodia: A First-Timer's Checklist for Americans
First trip to Cambodia? Here is the honest first-timer checklist for Americans — the visa, the US-dollar money quirk, the safety reality, the vaccines, the temple dress code, and what arrival at the new airport actually looks like in 2026.
Country Combos
Thailand to Cambodia in 2026: Why You Must Fly (Land Borders Closed) for Americans
All seven Thailand–Cambodia land borders have been closed since June 2025, so in 2026 the only way for Americans to get from Thailand into Cambodia is to fly. Here is how the Bangkok-to-Siem Reap and Bangkok-to-Phnom Penh routes work, the Cambodia eVisa you need before you board, and why the old Poipet overland plan no longer exists.
Trip Planning
How to Get from Phnom Penh to Siem Reap: Bus, Flight, or Ferry for Americans
Three ways to cover the 195 miles between Cambodia’s capital and Angkor Wat: a $15 express bus, a 45-minute flight, or a slow river ferry. Here is what each one actually costs an American traveler, how long it takes, and which one fits your trip.