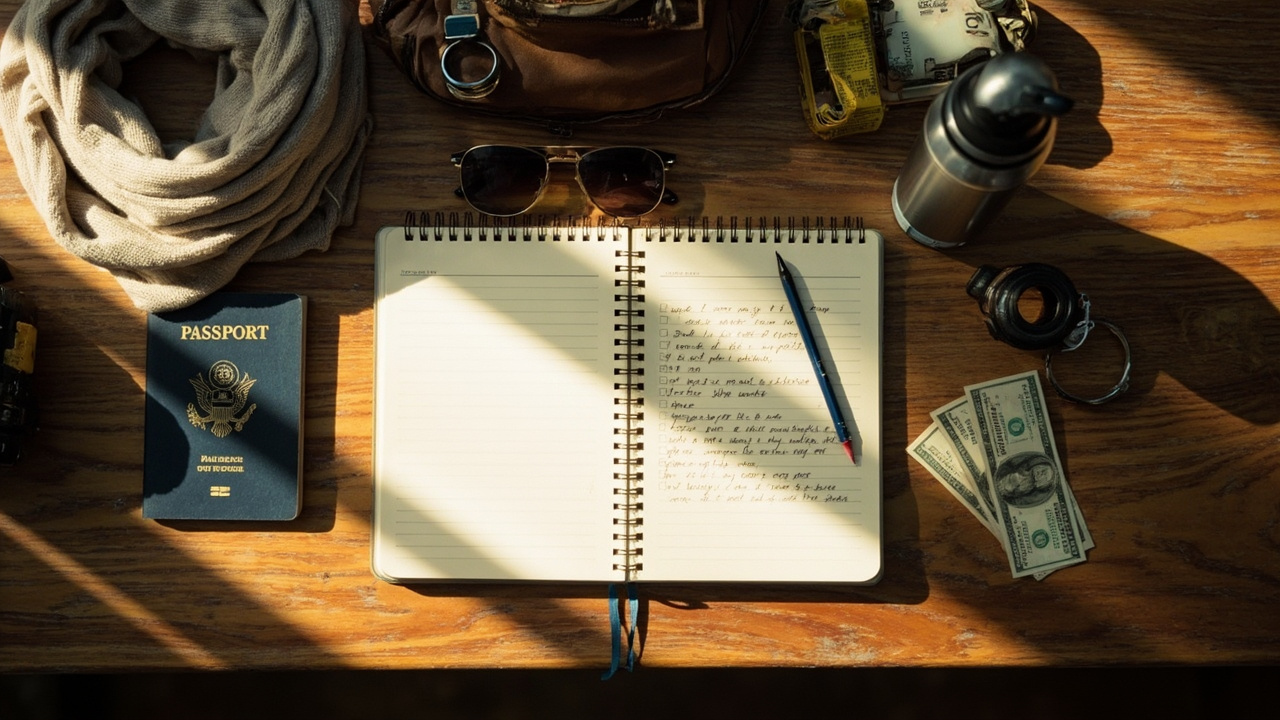
Cambodia eVisa Photo Size and File Format for Australians (2026)
The exact technical specs the Cambodia eVisa portal expects from Aussie applicants: 35×45mm equivalent at 300dpi, JPEG only, 100KB to 2MB, no EXIF rotation. Here is how to check, how to convert from HEIC, how to resize, and how to dodge the iPhone Live Photo trap that catches Aussies every week.
What size and file format does the Cambodia eVisa photo need to be?
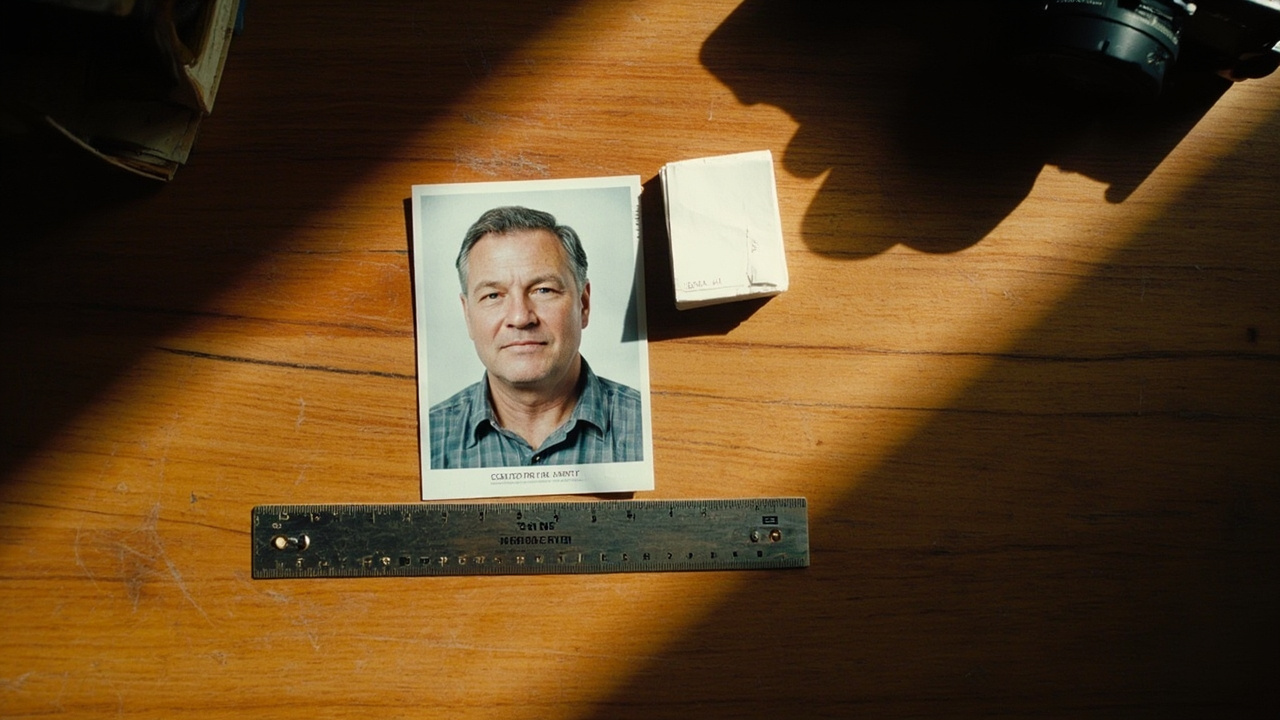
35mm by 45mm at 300 dots per inch — about 413 by 531 pixels at the minimum, 1200 by 1600 pixels at the upper end the validator will accept. JPEG only (.jpg or .jpeg, treated identically). HEIC and PNG are rejected on upload. File size must sit between 100KB and 2MB. The EXIF rotation flag must be off — meaning the photo is stored portrait the way it looks on screen, not rotated by the camera's metadata. On a Mac, check the pixel dimensions via Preview's Tools > Show Inspector panel. On Windows, right-click the file and open Properties > Details. The most common Aussie fail in 2026 is the iPhone HEIC format slipping through after a Live Photo AirDrop — convert to JPEG explicitly via the iOS Files app or macOS Preview before you click upload. Tourist eVisa is $80 USD (~$122 AUD) all-in, approved in 3 business days, delivered as a printable PDF by email, with free resubmission if Immigration flags a correction.
Wichtigste Erkenntnisse
- Cambodia's 2026 eVisa photo file rules: 35×45mm equivalent at 300dpi (around 413×531 pixels minimum, 1200×1600 pixels maximum), JPEG only, 100KB to 2MB file size, no EXIF rotation flag set.
- HEIC is the iPhone default since iOS 11 and Cambodia's validator rejects it on upload. Convert to JPEG before you click submit — iOS Files app, macOS Preview, or Windows Photos app all do this for free.
- PNG is also rejected by the validator. JPEG is the only accepted format. .jpg and .jpeg file extensions are treated identically.
- Aussies on Mac can check pixel dimensions via Preview's Tools > Show Inspector menu; Windows users right-click the file > Properties > Details tab.
- The iPhone Live Photo trap catches Aussies weekly — Live Photos sent via AirDrop sometimes arrive as HEIC even after you 'Save as JPEG'. Use the iPhone Share Sheet > 'Save to Files' as JPEG to break the link.
- Free resubmission if Immigration flags a correction is standard, but a format-related resubmission costs 1 to 2 business days off the 3 business days processing window.
Why the file-spec rule trips up Aussies more than the photo itself
About 25 percent of Aussie eVisa photos flagged by Cambodia's validator each week are flagged for a file-spec issue, not a photo-content issue. The face, the background, the lighting are all fine — the file format, the pixel dimensions, or the EXIF rotation tag is wrong. That is a frustrating rejection because the applicant did everything visually right and only missed a checkbox they did not know existed.
The reason is the iPhone. Since iOS 11 in 2017, the default iPhone photo format has been HEIC, not JPEG. HEIC is a more efficient modern format but Cambodia's eVisa portal does not accept it. The validator scans the file header, sees the HEIC signature, and rejects the upload before the photo content is even looked at. Aussies running iPhones — about 55 percent of Aussie adults in 2026 — hit this trap regularly.
This guide walks through every technical file-spec the Cambodia eVisa portal expects in 2026, plus how to check the file on Mac and Windows, how to convert HEIC to JPEG without losing quality, how to resize if the file is too big, and the iPhone Live Photo trap that catches the most Aussies. If you want the full picture before applying, the Cambodia eVisa photo requirements for Australians covers all the specs end-to-end. The smoothest way to get sorted before your flight is to official Cambodia eVisa for Australians on our site.
This is part of the broader Aussie photo-compliance series. The self-take iPhone guide covers the shoot itself; the photo-rejected troubleshooting guide covers what to do if the file-spec flag lands in your inbox. Either way, the file rules sit underneath every Cambodia eVisa photo upload.
The exact 2026 file specs in one table
Here is what the validator checks before it even looks at your face. If any of these rows fail, the photo never reaches the visual-content check and you get a generic 'file does not meet specification' email.
Häufig gestellte Fragen
What size and resolution does the Cambodia eVisa photo need to be?
35mm by 45mm portrait at 300dpi minimum. In pixels that means a floor of 413 by 531 and a ceiling of 1200 by 1600. JPEG only. File size between 100KB and 2MB. sRGB colour mode. EXIF rotation flag must be off. Most iPhone and modern Android photos sit well inside the upper end of these limits by default — the trickier checks are the JPEG-only requirement (not HEIC, not PNG) and the EXIF rotation flag.
Will Cambodia accept HEIC or PNG for the eVisa photo?
No to both. The eVisa portal scans the file header on upload and rejects anything that is not a true JPEG. HEIC is the iPhone default since iOS 11 and catches more Aussies than any other format issue. PNG is rejected because its lossless compression sits outside the file-size band the validator expects. Convert to JPEG via the iOS Files app, macOS Preview Export, or the Windows Photos app's Save As menu before uploading.
How do I check my photo's pixel dimensions on a Mac?
Open the photo in Preview, then choose Tools > Show Inspector from the menu bar (or press Command + I). The first tab shows the file format and overall file size. The second tab shows the pixel dimensions and the resolution in dots per inch. If the pixel dimensions sit between 413×531 and 1200×1600, and the resolution is 300dpi or higher, that check passes. Adjust via Tools > Adjust Size if either value is out of range.
How do I check my photo on Windows?
Right-click the file in File Explorer and choose Properties. The General tab shows the file size in KB or MB and the file format extension. Click across to the Details tab — pixel dimensions appear under 'Dimensions', the resolution appears as 'Horizontal resolution' and 'Vertical resolution' in dpi. To resize or convert, open the file in the Windows Photos app and use the menu's Resize or Save As options.
What is the iPhone Live Photo trap and how do I avoid it?
Live Photos are HEIC files with a 3-second video wrapper. When you AirDrop a Live Photo to a Mac, the file sometimes arrives as HEIC even though Preview shows it as a normal JPEG. The fix is to use the iPhone's Share > Save to Files action before AirDropping. Saving to Files forces a conversion to plain JPEG and strips the Live wrapper. AirDrop or email the resulting JPEG, not the original Photo. Alternatively, in Settings > Camera > Formats, switch from High Efficiency to Most Compatible — every future photo saves as JPEG natively.
Quellen
Did this guide help you?
Aus unserem Blog
Trip Planning
Things to Know Before Traveling to Cambodia: A First-Timer's Checklist for Americans
First trip to Cambodia? Here is the honest first-timer checklist for Americans — the visa, the US-dollar money quirk, the safety reality, the vaccines, the temple dress code, and what arrival at the new airport actually looks like in 2026.
Country Combos
Thailand to Cambodia in 2026: Why You Must Fly (Land Borders Closed) for Americans
All seven Thailand–Cambodia land borders have been closed since June 2025, so in 2026 the only way for Americans to get from Thailand into Cambodia is to fly. Here is how the Bangkok-to-Siem Reap and Bangkok-to-Phnom Penh routes work, the Cambodia eVisa you need before you board, and why the old Poipet overland plan no longer exists.
Trip Planning
How to Get from Phnom Penh to Siem Reap: Bus, Flight, or Ferry for Americans
Three ways to cover the 195 miles between Cambodia’s capital and Angkor Wat: a $15 express bus, a 45-minute flight, or a slow river ferry. Here is what each one actually costs an American traveler, how long it takes, and which one fits your trip.