Cambodia eVisa Photo Rejected? 2026 Aussie Troubleshooting & Retake Guide
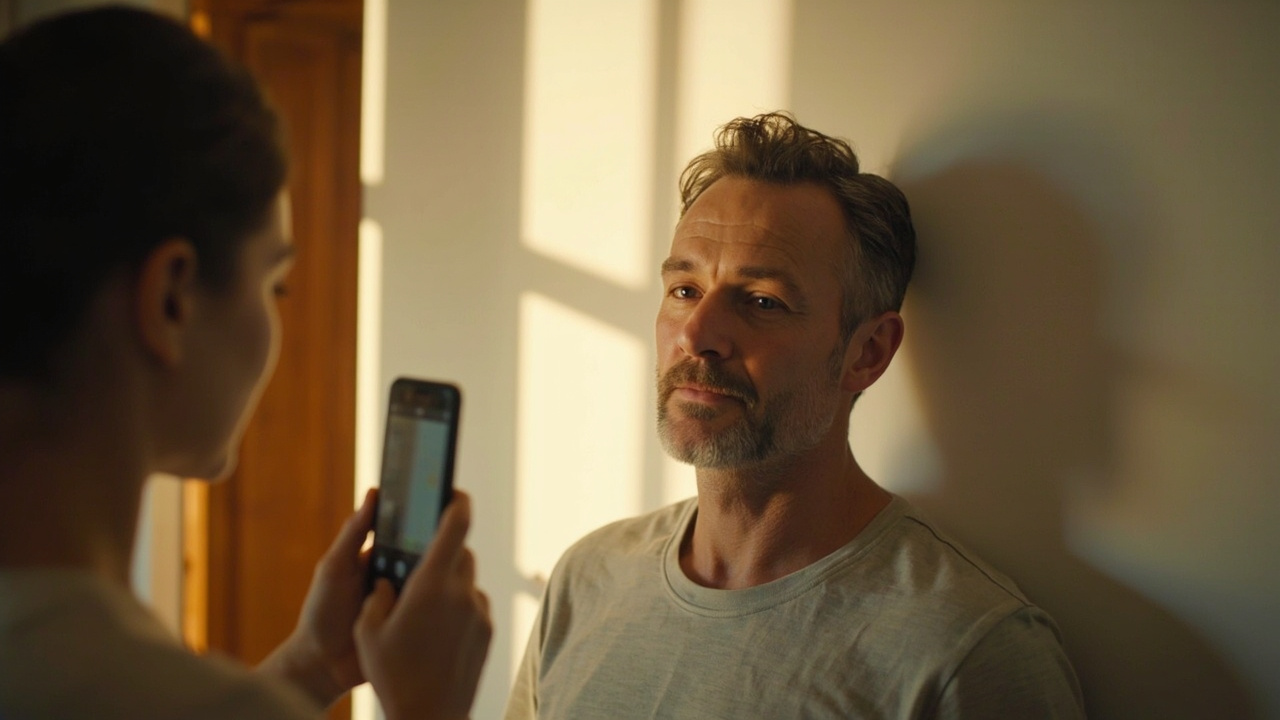
A Cambodia eVisa photo rejection feels worse than it is. The photo is the #1 cause of Aussie rejections — about 30% of all flags — and almost every fix is a 5-minute phone retake against a plain white wall. Here is the full troubleshooting playbook.
What do I do if my Cambodia eVisa photo was rejected?
Retake against a plain white wall in daylight, no glasses, no smile, neutral expression — 5 minutes on a phone is usually enough. Photo is the #1 Cambodia eVisa rejection cause (~30% of Aussie rejections). Through us, resubmission is free; we'll send you a plain-English email naming the specific spec that failed. Most common Aussie photo fails: glasses (auto-flag), cream/off-white wall (looks white but the spec wants pure white), shadow behind head, HEIC file from iPhone, and the wide-brim hat (yes, even in Australia in summer). Each fix is sub-10-minute.
نکات کلیدی
- Photo is the #1 cause of Cambodia eVisa rejections for Australians — roughly 30% of all flags.
- Almost every fix is a 5-minute phone retake against a plain white wall in daylight, no glasses, neutral expression.
- Through us, resubmission is free — we email you in plain English naming the exact spec that failed.
- Top Aussie fails: glasses on, off-white wall, smile or open mouth, HEIC file from iPhone, wide-brim hat, shadow behind head, low-res selfie, face too small in frame.
- If DIY is not your thing, an Australian chemist passport photo runs $15-25 AUD and works fine once scanned to JPEG under 2 MB.
Most Aussies fix this in 5 minutes — here is the rescue path
The 8 photo fail patterns that catch Aussies — ranked
Glasses-on (30% of rejections)
Off-white wall (20%)
Smile, HEIC, and the wide-brim hat
The 5-minute phone-camera retake walkthrough
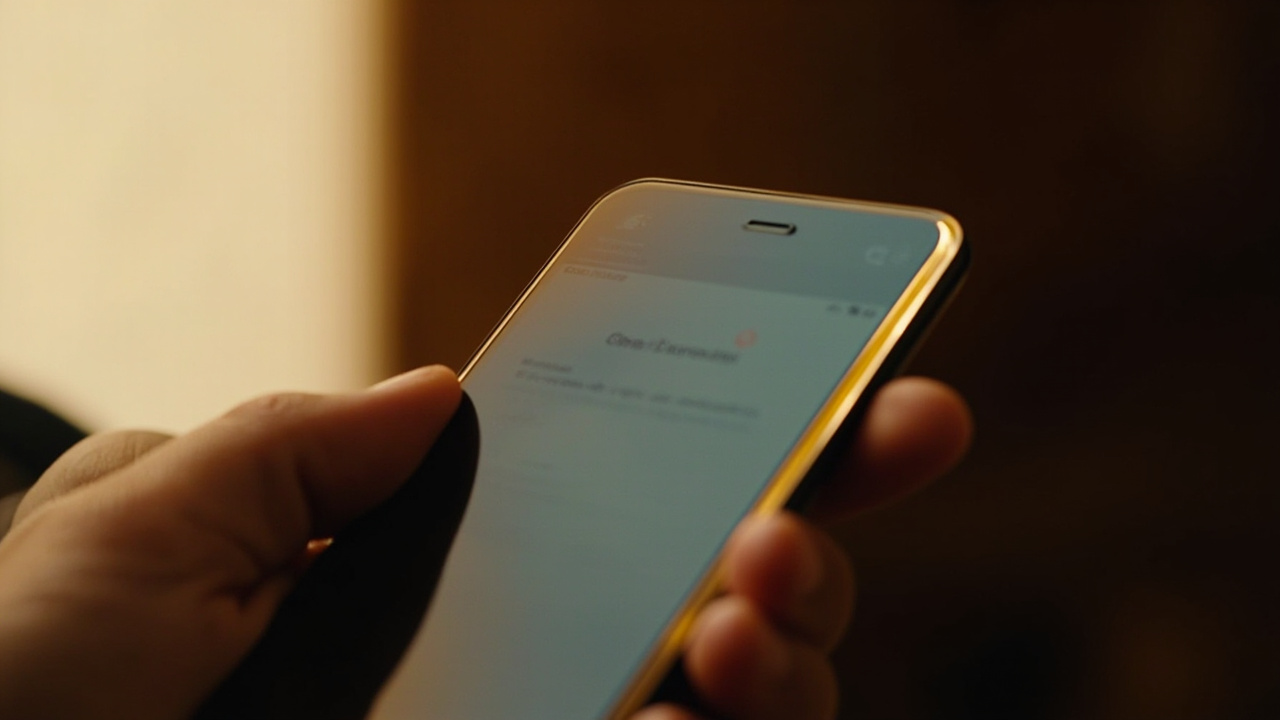
How to upload the new photo (HEIC fix, file size, secure link)
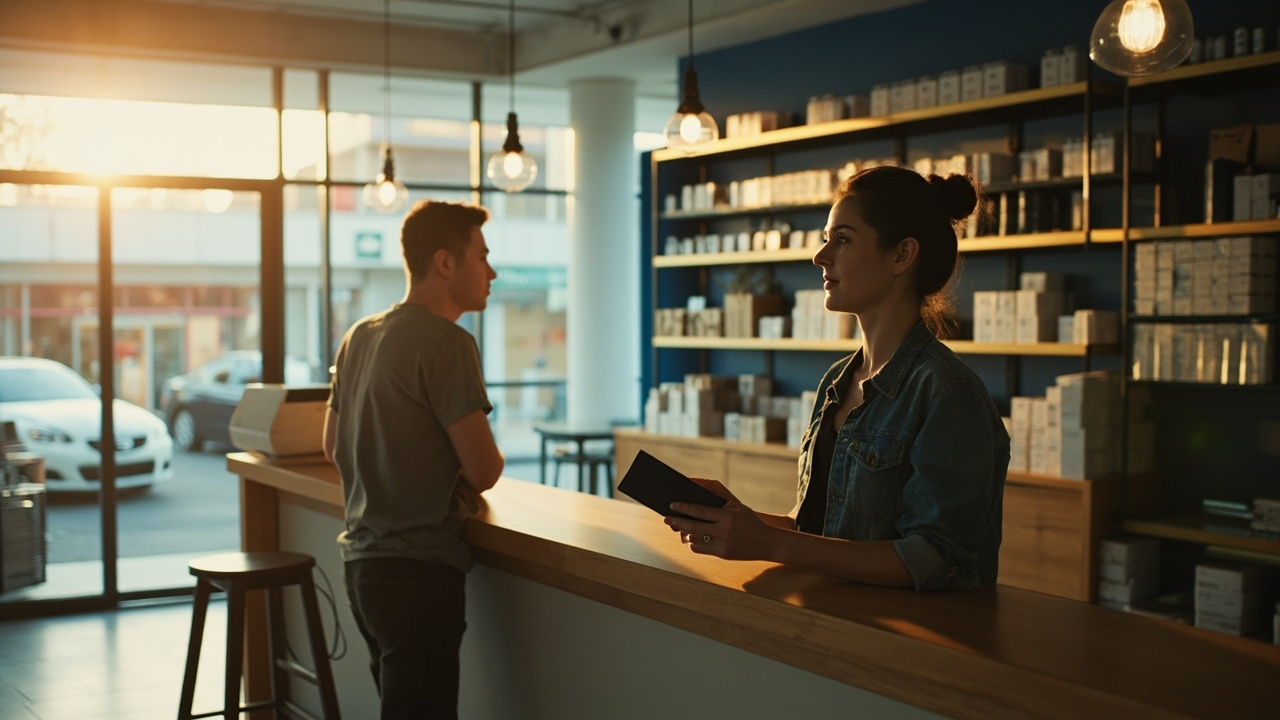
The chemist alternative — if you'd rather not DIY
سوالات متداول
My Cambodia eVisa photo was rejected — what do I do?
Retake against a plain white wall in daylight, no glasses, no smile, neutral expression — 5 minutes on a phone is usually enough. Through us, resubmission is free and we email you in plain English naming the exact spec that flagged. Reply to that email with the new JPEG file (under 2 MB) via the secure upload link, and we resubmit on your behalf. The new 3-business-day Immigration clock starts when the corrected file lands.
Why does Cambodia reject photos with glasses?
Cambodian Immigration's auto-validator checks every uploaded photo for eyewear before any case officer sees it, and any glasses — prescription, reading, sunglasses, even thin clear frames or pushed-up readers — get the file flagged. The reason is fraud prevention: glasses obscure facial landmarks the validator uses to match against the passport bio-page photo. Around 30% of Aussie photo rejections are glasses-related. The fix is simple — take them off, place them out of frame, retake.
Will my Aussie passport photo work for the Cambodia eVisa?
Yes, if it was taken within the last 6 months. The Australian passport spec (35×45 mm, plain white background, neutral expression, no glasses since 2020) sits very close to the Cambodian one (4×6 cm). Lay a spare AU chemist passport print flat on a clean white surface, photograph it from directly above in even daylight, crop tight to the photo edges, export as JPEG under 2 MB, and upload. If your AU passport is older than 6 months, the print is too — you will need a fresh one.
How do I convert HEIC to JPEG?
On iPhone, open the photo in the Photos app, tap share, pick Mail or Files, and select 'Most Compatible' in the share menu — that forces a JPEG export. Alternatively, in the Files app, tap-and-hold the photo and pick 'Save As' with JPEG selected. On Mac, open in Preview and use File > Export > JPEG. On Android, the Photos app exports JPEG by default, so this is rarely an issue. Online converters work too if your phone fights you, but native export is faster and keeps the file private.
Can I smile in my Cambodia eVisa photo?
No. Neutral expression only — closed mouth or just barely parted, no visible teeth, no upturned mouth corners. The Cambodian validator flags any photo where it detects a smile, and around 15% of Aussie photo rejections come from this single rule. The instinctive friendly half-smile most Australians default to for any camera is exactly what gets caught. Practice a relaxed neutral face in the mirror for thirty seconds before you shoot — it feels stiff but photographs naturally.
منابع
Did this guide help you?
از وبلاگ ما
برنامهریزی سفر
نکاتی که باید قبل از سفر به کامبوج بدانید: چکلیست اولین سفر برای آمریکاییها
اولین سفر به کامبوج؟ در اینجا چکلیست صادقانه برای اولین سفر آمریکاییها آمده است — ویزا، قاعده پول دلار آمریکا، واقعیت امنیت، واکسیناسیون، dress code معابد، و اینکه ورود به فرودگاه جدید در سال 2026 در واقعیت چگونه است.
ترکیب کشورها
تایلند به کامبوج در سال ۲۰۲۶: چرا باید پرواز کنید (مرزهای زمینی بسته است) برای آمریکاییها
تمام هفت مرز زمینی تایلند-کامبوج از ژوئن ۲۰۲۵ بسته شدهاند، بنابراین در سال ۲۰۲۶ تنها راه آمریکاییها برای رفتن از تایلند به کامبوج پرواز است. در اینجا توضیح میدهیم که مسیرهای بانکوک-سیمریپ و بانکوک-پنومپن چگونه کار میکنند، ویزای الکترونیکی کامبوج که قبل از سوار شدن نیاز دارید، و چرا برنامه قدیمی زمینی از پویپت دیگر وجود ندارد.
برنامهریزی سفر
راهنمای رفتن از پنوم پن به سیم ریپ: اتوبوس، پرواز یا کشتی برای آمریکاییها
سه راه برای پیمودن ۳۱۴ کیلومتر بین پایتخت کامبوج و آنگکور وات: یک اتوبوس اکسپرس ۱۵ دلاری، یک پرواز ۴۵ دقیقهای، یا یک کشتی رودخانهای آهسته. در اینجا توضیح میدهیم که هر کدام واقعاً برای یک مسافر آمریکایی چقدر هزینه دارد، چقدر طول میکشد و کدام یک برای سفر شما مناسبتر است.