Cambodia eVisa Passport Bio Page Scan for Australians: 2026 Phone-Camera Guide
The passport bio-page scan is the second-most-common Aussie eVisa rejection after the photo — but the easiest to fix. Five rules, five minutes on an iPhone or Android, no flatbed scanner required.
How do Australians scan their passport for the Cambodia eVisa?
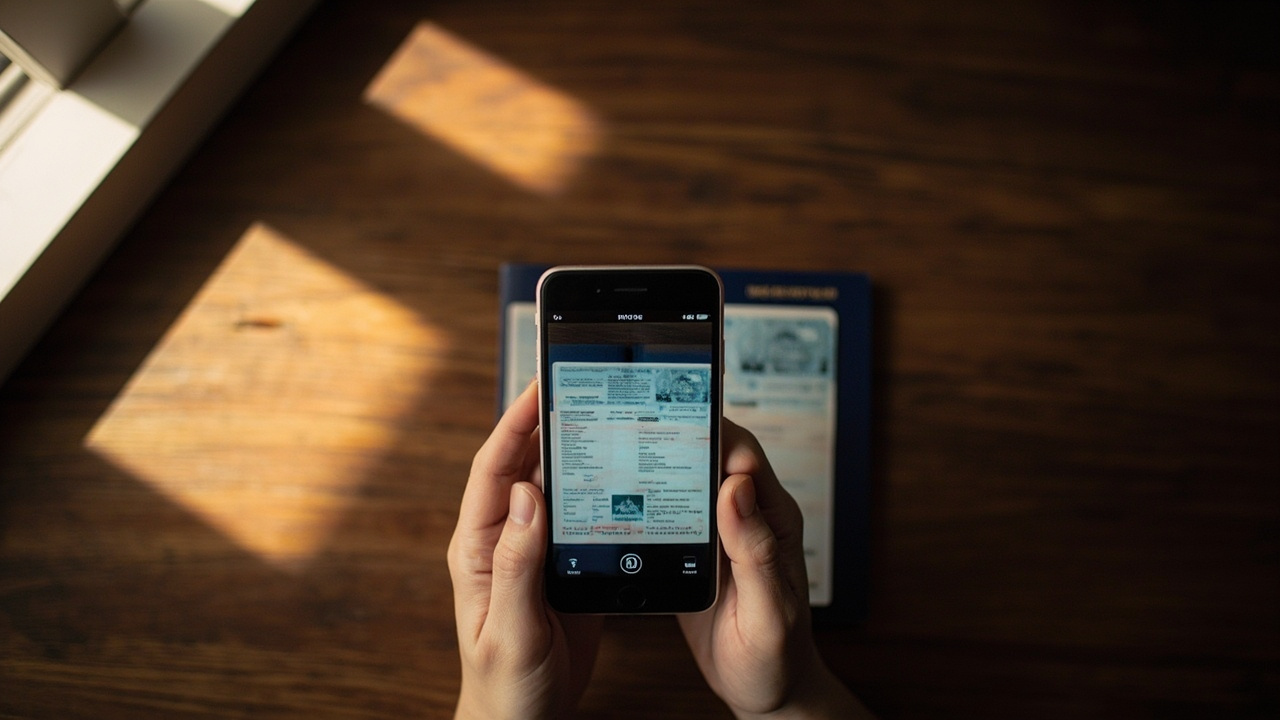
Phone camera in daylight, passport flat on a contrasting surface, BOTH edges of the bio page visible, all text including the MRZ legible, no glare on the laminate. Don't use flash. Don't crop tight — leave a small border. JPEG file under 2 MB, ideally 1500×1000 px or larger. Five minutes on an iPhone or Android usually nails it. About 8% of Aussie eVisa rejections are passport-scan issues (glare, partial cropping, or low resolution) — almost all fix with one retake.
Punti chiave
- Phone camera in daylight, passport flat on a contrasting surface, both edges of the bio page in frame, all text including the MRZ legible, no glare on the laminate.
- No flash, no tight crop — leave a small border. JPEG file under 2 MB, ideally 1500×1000 px or larger (Cambodia accepts 1000×700 minimum).
- Five minutes on a modern iPhone or Android nails it. A phone-camera scan passes about 92% of Aussie applications first time.
- Roughly 8% of Aussie eVisa rejections trace back to scan issues — laminate glare (~3%), partial crop (~2%), low resolution (~2%), wrong page entirely (~1%) — and almost all clear with one retake.
- If your iPhone produces HEIC files, switch Settings > Camera > Formats to 'Most Compatible' or use a converter app before upload.
The second-most-common Aussie rejection — but the easiest to fix
After the passport photo, the bio-page scan is the next-biggest reason an Aussie eVisa application stalls. Roughly 8% of all rejections we see come down to the scan — laminate glare across the face, a corner cropped out, a low-resolution shot that turns the machine-readable zone into a blur. Compared with the 25% rejection rate on photos, that is genuinely small, but it is also the most avoidable mistake on the entire application. Five minutes on a phone in good daylight clears it in one go.
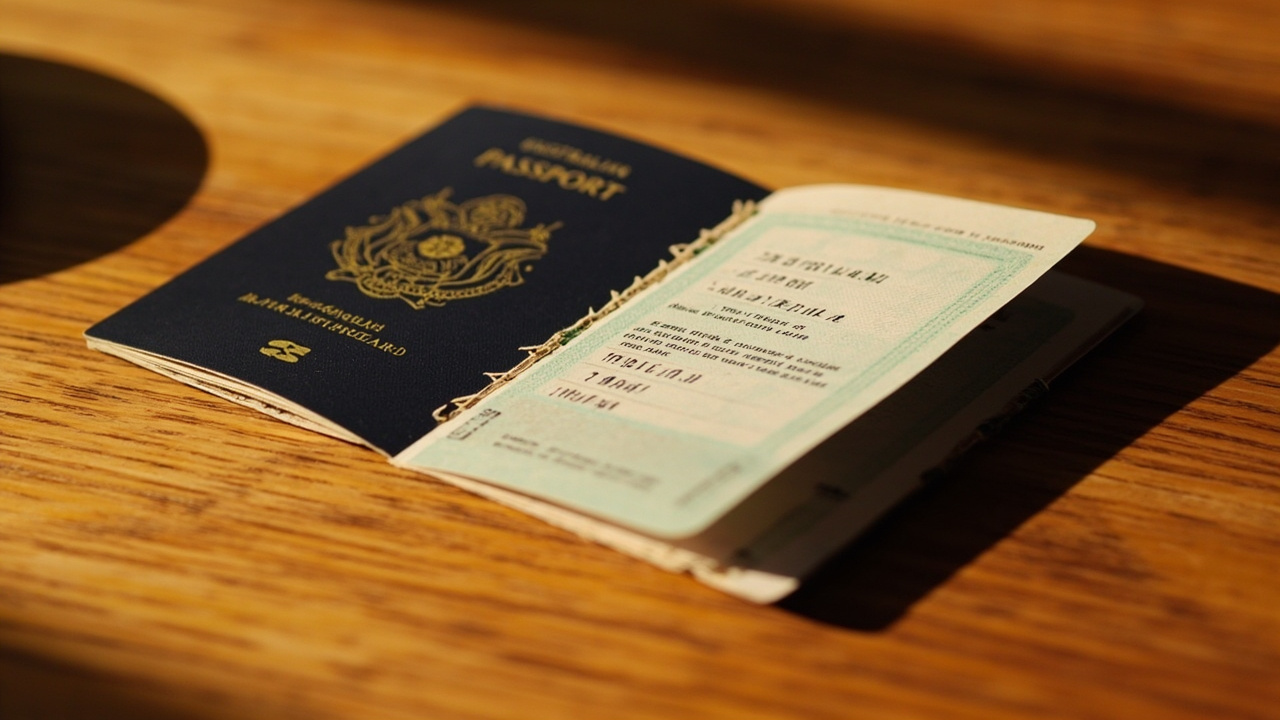
The bio page is the part of your Australian passport that has the photo on it — name, date of birth, passport number, issue and expiry dates, the MRZ (machine-readable zone) along the bottom. That is the page Cambodian Immigration needs to see; not the cover, not the visa-stamp pages, not the back endpaper. Sounds obvious, and the wrong-page mistake still accounts for about 1% of all scan rejections — usually someone scanning the cover by accident, or the inside front page with the embossed coat-of-arms but no biographical detail. The Cambodia eVisa documents required for Australians piece covers the full five-item checklist if you need the wider context. Our official Cambodia eVisa for Australians pulls all the pieces — cost, documents, processing — into one place.
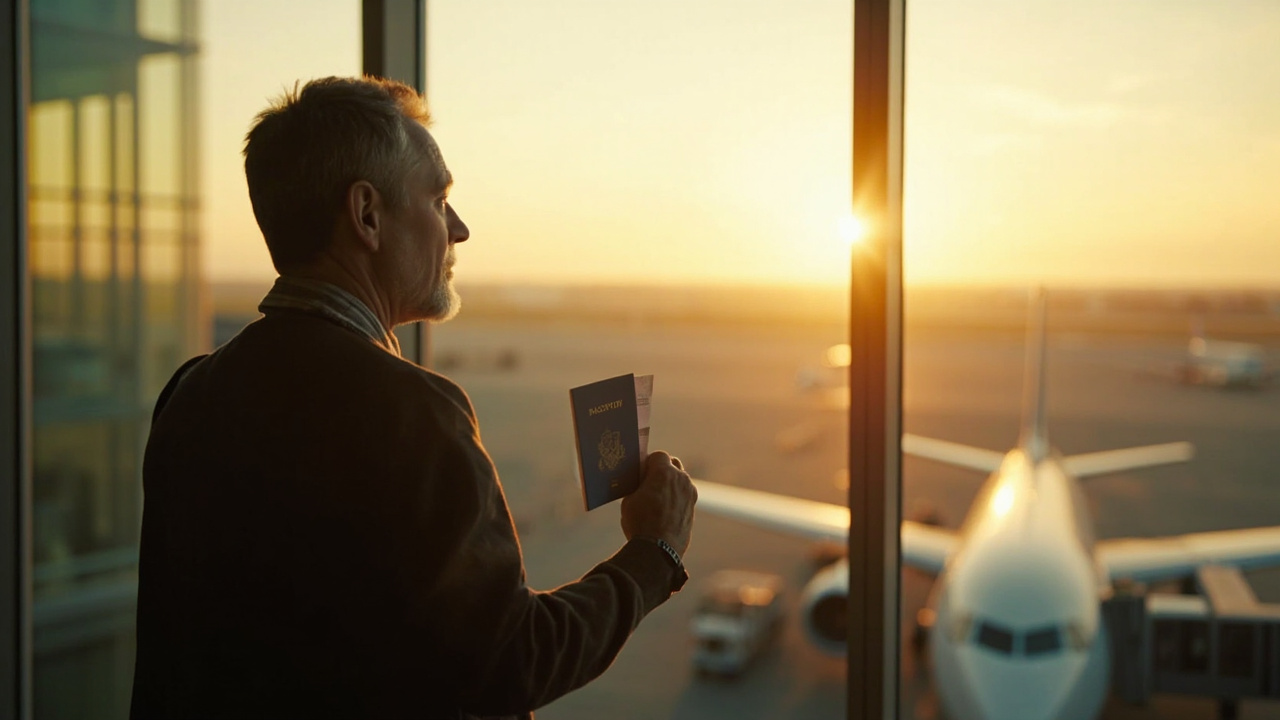
This guide is the same internal playbook we use on the scan-QA desk. The five rules that decide whether a scan passes, a step-by-step phone walkthrough you can run through right now at your kitchen table, the common Aussie mistakes ranked by frequency, and the HEIC-to-JPEG fix iPhone users keep tripping over. A compliant scan is a five-minute job. When you are ready, the application takes about ten minutes online and three business days for approval. The Australian application walkthrough covers the full end-to-end, and the Do Australians need a Cambodia visa explainer is the right starting point if you have not begun yet.
The five rules of a passing passport scan
Cambodian Immigration's scan spec is shorter and gentler than the photo spec, but the validator still runs an automated read of every upload before a human looks at it. Five rules cover almost every flag. Get all five right and the scan goes through cleanly.
Rule one: both edges of the bio page must be fully in frame. Top, bottom, binding edge, outer edge — all four visible with a small margin of background around the passport. The most common scan rejection is a corner cropped off, usually the bottom-right where the MRZ ends. Leave a thumb-width of contrasting surface on every side.
Domande frequenti
How do I scan my passport for the Cambodia eVisa?
Phone camera in daylight, passport flat on a contrasting surface, both edges of the bio page visible, all text including the MRZ legible, no glare on the laminate. Don't use flash. Don't crop tight — leave a small border. JPEG file under 2 MB, ideally 1500×1000 px or larger. Five minutes on an iPhone or Android usually nails it.
Can I use a phone camera or do I need a real scanner?
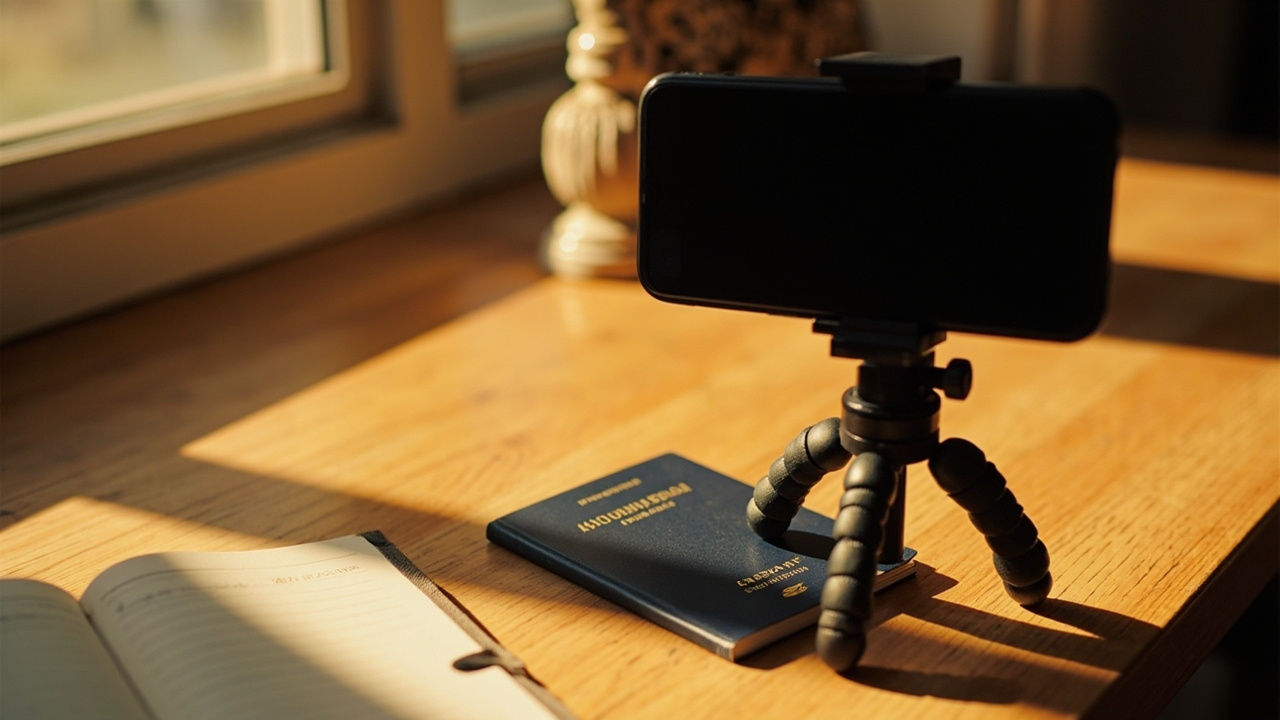
A phone camera is fine and is what about 92% of Aussie applicants use. The Cambodian eVisa portal does not require a flatbed scanner; a clean phone shot in good daylight on a contrasting surface produces a file that passes the validator every time. Tap to focus on the MRZ, leave a generous border, no flash, JPEG export.
What's the right resolution for the passport scan?
At least 1000×700 pixels, ideally 1500×1000 or larger. Modern phone cameras easily exceed that — a default iPhone or Pixel shot is typically 4000×3000 or higher. The risk is on the other end: if you crop too tight after the shot or save at very low quality, you can drop below the threshold. Keep the original resolution, crop loose, save at Medium quality or higher.
Why does the scan need both edges visible?
Cambodian Immigration's upload validator confirms the page is the bio page by reading the page edges and the MRZ. If a corner is cropped off — most commonly the bottom-right, taking part of the MRZ with it — the validator cannot confirm it has the right page. Leave a thumb-width of contrasting surface visible on all four sides of the passport.
How do I get rid of laminate glare on the passport?
Turn off camera flash. Move to side daylight from a window, not overhead artificial light. If you can still see a bright reflection on the page in the camera preview, tilt the passport a few degrees one way or the other until the reflection moves off to the side. A few degrees of tilt almost always clears it. Glare causes about 3% of all Aussie scan rejections — the single biggest cause.
Can I scan my passport with a flatbed scanner?
Yes, a flatbed scanner works perfectly. Place the bio page face-down on the glass, close the lid, scan at 300 dpi or higher, and save as JPEG under 2 MB. The output is usually cleaner than a phone shot because there is no risk of glare or framing error. The catch is that most Aussie households no longer own a flatbed scanner, which is why the phone-camera method is the default in this guide.
Fonti
Did this guide help you?
Dal nostro blog

Pianificazione del viaggio
Cose da Sapere Prima di Viaggiare in Cambogia: Una Checklist per i Principianti Americani
Primo viaggio in Cambogia? Ecco l'onesta checklist per i principianti americani — il visto, la particolarità dell'uso del dollaro USA, la realtà della sicurezza, i vaccini, il codice di abbigliamento per i templi, e come appare realmente l'arrivo al nuovo aeroporto nel 2026.
Combinazioni di Paesi
Thailand to Cambodia nel 2026: Perché Devi Volare (Confini Terrestri Chiusi) per gli Americani
Tutti e sette i valichi di frontiera terrestri tra Thailandia e Cambogia sono chiusi da giugno 2025, quindi nel 2026 l'unico modo per gli americani di entrare in Cambogia dalla Thailandia è in aereo. Ecco come funzionano le rotte Bangkok-Siem Reap e Bangkok-Phnom Penh, il visto elettronico cambogiano di cui hai bisogno prima di imbarcarti, e perché il vecchio piano di attraversamento terrestre via Poipet non esiste più.
Pianificazione del viaggio
Come Arrivare da Phnom Penh a Siem Reap: Autobus, Volo o Traghetto per Americani
Tre modi per coprire i 314 km tra la capitale della Cambogia e Angkor Wat: un autobus espresso a $15, un volo di 45 minuti o un lento traghetto fluviale. Ecco quanto costa realmente ciascuna opzione a un viaggiatore americano, quanto tempo richiede e quale si adatta al vostro viaggio.