Utilizziamo cookie essenziali per il funzionamento del sito e cookie opzionali per capire come viene utilizzato. Puoi accettarli tutti, rifiutare quelli opzionali o personalizzare le tue scelte. Informativa sui cookie
Caricamento…
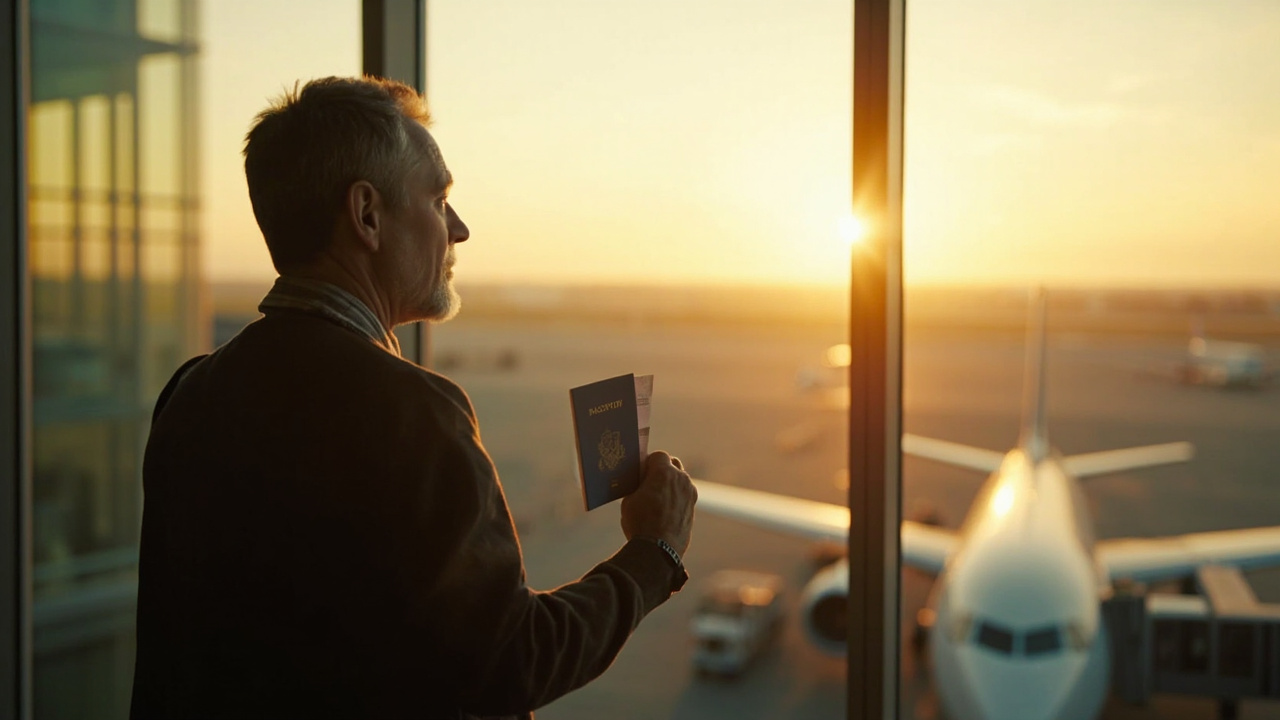
Cambodia eVisa Rejected — Photo Too Bright
Rejection Fix9 lettura minima
Cambodia eVisa Rejected for a Photo That Is Too Bright — Aussie Fix Walkthrough
An overexposed visa photo is one of the easier rejection causes to put right — once you know what to look for. This is the Aussie-specific walkthrough on spotting the histogram bunch, re-shooting with soft window light and a paper reflector, and resubmitting free through us.
Why did Cambodia reject my eVisa photo for being too bright and how do I fix it?
Cambodian Immigration's photo auto-checker measures the brightness of your face and the background, and rejects any image where pixels are bunched at the high end of the brightness scale — typically anything above value 240 on the 0-255 range. This happens most often from a camera flash, harsh sunlight directly behind the subject, or a white shirt blending into a white wall. The fix is almost always a re-shoot, not an edit. Stand 50 cm from a plain wall, face a north-facing window so the daylight comes in sideways across your face, hold a sheet of A4 paper at chest height to bounce light back into the shadow side, and have someone take the photo on a phone in portrait at eye level. Save as JPEG under 2 MB and reply to our bounce email — through us, the resubmission is free and the file is usually Approved in 3 business days from the moment we send it back.
Punti chiave
A 'photo too bright' rejection usually shows up in the histogram as pixels bunched against the 200-plus end of the brightness scale — the highlight side.
Flash washout, harsh window light behind the subject, and the white-T-shirt-on-white-wall combination are the three most common Aussie causes.
The fix is almost always a re-shoot in soft natural light from a north-facing window, not an edit.
If you cannot re-shoot, the iOS Photos and Google Photos edit tools can bring highlights down by 30-50 points and usually clear the auto-checker.
Through us, the resubmission is free — no second $80 USD (~$122 AUD) charge, and you typically lose only 1-2 business days off the Approved in 3 business days window.
Why overexposed photos bounce — and why Aussie homes get it wrong
A photo-too-bright rejection feels surprising the first time you see it. The photo looked fine on your phone screen, looked fine when you uploaded it, and the bounce email is the first signal anything was off. The reason is mechanical. Cambodian Immigration's photo auto-checker is not looking at the image the way you do — it is reading the actual pixel values, and pixels above brightness value 240 (out of a 0-255 scale) read as effectively pure white. If too many pixels are clustered up there, the checker decides the face, the background or both have lost detail to overexposure and bounces the file.
Aussie homes catch this for predictable reasons. Australian houses are bright — we build for the climate, big windows facing the sun, light timber floors, white walls everywhere. That same setup that makes the kitchen lovely to live in makes it lethal for a visa photo. The three repeat-offender shots are the camera flash washing out the face, the subject standing in front of a north-facing afternoon window so the daylight blows out behind their head, and the white-shirt-on-white-wall combo that makes the whole upper torso fuse into a single bright blob the auto-checker cannot distinguish from the background.
This guide shows you how to spot the brightness problem yourself before re-uploading, how to set up a clean re-shoot in any Aussie home, and how the free-resubmission path looks if the bounce email has already arrived. The Cambodia eVisa photo requirements piece for Aussies covers the broader photo spec — this article zeroes in on the brightness side of the auto-checker specifically. For the canonical reference on cost, documents, and processing, see the Cambodia visa for Australians hub.
Diagnose it in 30 seconds with the iOS or Android histogram
Before re-shooting, it is worth confirming the auto-checker was right — sometimes a bounce email reads like a brightness issue but the real cause is glare on glasses or a bright background only. Both iOS Photos and Google Photos can show a brightness histogram on any image you tap open. The histogram is a small graph that shows how many pixels in the image sit at each brightness value from 0 (pure black) on the left to 255 (pure white) on the right.
Opening the histogram on iOS Photos
Open the photo in the iOS Photos app. Tap Edit in the top right. Tap the adjust icon (the dial with the dot on it). Swipe up on the photo itself — the histogram overlay appears at the top of the screen. A well-exposed visa photo has its histogram bunched in the middle and gently tapering off at both ends. A too-bright photo has a large hump pushed hard against the right side — pixels piled up at the 200-plus end with nothing much in the midtones.
Opening the histogram on Google Photos
Open the photo in Google Photos. Tap Edit at the bottom. Scroll the adjustment row to Light, then tap More. The histogram appears at the top of the editing panel. Same rule applies — a healthy visa photo has the curve bunched in the middle. A bounced one has the curve smashed against the right edge with the right-side bar going off the top of the graph.
Quick histogram self-check
If the right edge of your histogram is touching the top of the graph, the photo is clipping highlights — pure white pixels with no detail. That is exactly what the Cambodian auto-checker flags. If the curve is bunched in the middle and the right edge is well below the top of the graph, you are clean.
Run the histogram check on the photo you uploaded. If the right-edge spike is obvious, the bounce email is correct and a re-shoot is the next step. If the histogram looks fine, the rejection is more likely about something else — background colour, glasses glare, file format — and the bounce email will usually point you at the specific issue.
The re-shoot — 5 minutes in any Aussie home
The cleanest re-shoot uses soft natural light from a north-facing window, no flash, no overhead lights, and a sheet of plain A4 paper as a cheap reflector. You do not need a chemist, you do not need a professional camera, and you do not need to leave the house. Here is the exact setup, broken into the four things that matter.
Wall: stand 50 cm from a plain white or off-white interior wall, with no door frames, picture rails or light switches in the frame behind your head.
Light: face a north-facing window (in the southern hemisphere a north-facing window gives the softest, most even daylight for most of the day). The light should hit your face from the front and sides, not from behind you.
Reflector: have a partner or friend hold a sheet of plain white A4 paper at chest height, angled up towards your face. This bounces a little of the window light back into the shadow side of your face and balances the exposure.
Camera: phone in portrait mode, no flash, no portrait blur mode (Cambodian Immigration auto-rejects portrait-mode blur because it softens the face), held at the same height as your eyes, 1.5-2 metres away.
The three common Aussie mistakes that bounce a re-shoot
Flash. The single most common cause of a too-bright bounce is the camera flash firing automatically because the room felt dim to the camera even though it felt fine to the eye. Turn the flash off manually before the shot — Auto is not enough. On iPhone, tap the flash icon at the top of the camera and set it to Off. On Android, tap the flash icon on the camera screen and select Off.
Backlight. If you stand with your back to a window, the bright daylight behind your head fools the camera's metering and the face goes dark while the background goes pure white. Always face the window, not stand in front of it. The window goes behind the photographer, not behind you.
White on white. If you are wearing a white T-shirt and the wall behind you is also white, the auto-checker sometimes flags the photo because it cannot find an edge between you and the background. Wear a coloured top — pale blue, light grey, soft pink, anything that is not white. The fix is one wardrobe change, not a re-edit.
The edit path — when re-shooting is not an option
Sometimes you cannot re-shoot. The flight is in 48 hours, you are away from home, the natural-light window has passed, or the room you are in simply does not have a clean wall. In those cases, the next-best option is a non-destructive edit on the existing photo. Both iOS Photos and Google Photos handle this well — the goal is to bring the highlights down by 30-50 points so the histogram pulls back from the right edge.
Editing in iOS Photos
Duplicate the original first so you have a clean copy to fall back on — tap Share, then Duplicate. Open the duplicate. Tap Edit, then the adjust icon. Find the Highlights slider (it sits between Exposure and Brilliance). Drag it left until the histogram pulls back from the right edge — usually -30 to -50 does it. If the face starts to look grey, lift the Brilliance slider by +10 to bring back the warmth. Save. Re-export as JPEG under 2 MB.
Editing in Google Photos
Open the photo. Tap Edit, then Light. Tap More to expose the detail sliders. Drag Highlights left by 30-50 points, watching the histogram pull back from the right edge. If the photo starts to look flat, lift the Brightness slider by +5 to compensate. Save as a copy so the original is preserved. Re-export as JPEG under 2 MB.
Edit is plan B, re-shoot is plan A
An edit can fix mild overexposure, but if your histogram has a tall spike pinned to the right edge with nothing in the midtones, no slider on your phone will recover the detail that is not there. In those cases, the re-shoot is the only path that clears the auto-checker. Five minutes in north-facing window light beats half an hour of fighting the highlights slider.
Resubmission — replying to the bounce email and getting back on track
Once you have the corrected photo — re-shot or edited — the resubmission is a single email. Through us, the fix path is built into the all-in price you saw at checkout, so there is no second charge and no fresh application to fill out. Here is the exact sequence.
Step 1: open the bounce email from us. Plain English, points at the brightness issue, suggests the re-shoot setup or the edit slider movements.
Step 2: re-shoot or edit using the steps above. Save as a JPEG, ideally 600 by 600 pixels or larger, under 2 MB.
Step 3: reply to the email with the new photo attached. No fresh form, no new payment, no re-uploading from scratch.
Step 4: we check the new photo against the brightness spec on our end before resubmitting — Checked end-to-end before it reaches Immigration. If anything still looks marginal, we tell you on the same email thread.
Step 5: approved PDF lands in your inbox, Delivered as a printable PDF by email. Typical end-to-end timeline from bounce to approved PDF is 1-2 business days for a photo-only fix.
The Cambodia eVisa resubmission guide for Australians covers the same flow written for any rejection cause, not just photos — worth a glance if you want the wider context. The Cambodia eVisa cost guide for Aussies breaks down where each dollar of the $80 USD (~$122 AUD) tourist or $90 USD (~$137 AUD) business price goes, including the free-resubmission line.
Putting it all together for Aussie travellers
An overexposed-photo bounce is one of the most fixable rejection causes — five minutes by a north-facing window, a sheet of paper as a reflector, no flash, coloured top, and the file goes back through Cambodian Immigration on the original payment. If you have not applied yet, the Australian eVisa application walkthrough covers the upload flow in full and flags the photo step explicitly. If you have been bounced, the email in your inbox already has the specific brightness flag — replying with the corrected file is the entire fix, and Aussie-timezone support is on the same thread if anything is unclear.
Open the photo in iOS Photos or Google Photos and bring up the histogram (Edit → Adjust → swipe up on iOS; Edit → Light → More on Google). If the right edge of the histogram is pinned to the top of the graph, you have clipped highlights — pure-white pixels with no detail. That is exactly what the Cambodian auto-checker flags. A clean photo has the curve bunched in the middle and tapering down on both sides.
Can I fix an overexposed photo with editing instead of re-shooting?
Sometimes — if the overexposure is mild. Open the photo in iOS Photos or Google Photos, drag the Highlights slider left by 30-50 points, and watch the histogram pull back from the right edge. If the photo starts to look grey, lift Brilliance (iOS) or Brightness (Google) by 5-10 to compensate. If the histogram still has a tall spike pinned to the right edge after the edit, no amount of slider movement will recover detail that is not there and a re-shoot is the cleaner path.
Why does the camera flash bounce my photo?
Cambodian Immigration's auto-checker rejects any photo with a bright reflective spot on the forehead, nose or cheeks — and a phone flash almost always creates one. Phone flashes are very directional and very close to the camera lens, which produces the classic centre-of-face hotspot. Turn the flash off manually before the shot — Auto mode is not enough — and re-shoot in window light instead.
What is the best window to use for a re-shoot in an Aussie home?
A north-facing window. In the southern hemisphere a north-facing window catches even daylight for most of the day without direct sun streaming straight onto your face. South-facing windows can work in the morning or late afternoon but the light is more variable. East and west windows can work outside their peak hours but the morning/evening direct sun is too harsh. Face the window for the shot, not stand in front of it.
Do I have to pay again if my photo was rejected for being too bright?
Through us, no. The all-in $80 USD (~$122 AUD) tourist or $90 USD (~$137 AUD) business price includes free resubmission if Cambodian Immigration flags a correction. You reply to our bounce email with the corrected photo attached, we resubmit at no extra charge — no second transaction on your card, no fresh application from scratch.
How long does the fix take end-to-end?
About five minutes for the re-shoot itself, plus 1-2 business days for Cambodian Immigration to re-process the file. Typical end-to-end timeline from the original bounce email to an approved PDF is 1-2 business days for a photo-only fix. If you apply with the recommended one-week-before-departure buffer, you will still have time to spare.
Can I use a sheet of A4 paper as a reflector?
Yes — plain white A4 printer paper is the cheapest and easiest reflector in any Aussie home. Have a partner or friend hold the sheet at chest height, angled up towards your face, while you face the window. The paper bounces a small amount of the window light back into the shadow side of your face and balances the exposure. No need for a proper photography reflector unless you happen to own one.
My white T-shirt blends into the white wall in the shot — what do I do?
Change your top, not your wall. A coloured top — pale blue, light grey, soft pink, or anything that is not white or cream — gives the auto-checker a clear edge between you and the background. Avoid bright red or strong patterns; soft neutral colours are best. The shirt only needs to read as a different tone from the wall behind you.
Does an overexposed-photo rejection affect future Cambodia applications?
No. Cambodian Immigration treats each application on its own merits and there is no blacklist for a routine photo bounce. Once the corrected photo clears the auto-checker on the resubmission, your record is clean and the file is processed exactly the same way as a fresh one.
Hannah leads the Rejection & Resubmission desk at VisaToCambodia. She has logged every Cambodian Immigration rejection pattern Australians have hit since 2021 and writes the playbook the team uses to get flagged applications back on track.