Chúng tôi sử dụng cookie thiết yếu để vận hành trang web và cookie tùy chọn để hiểu cách người dùng sử dụng trang web. Bạn có thể chấp nhận tất cả, từ chối cookie tùy chọn hoặc tùy chỉnh lựa chọn của mình. Chính sách cookie
Yêu cầu về ảnh eVisa Campuchia: Kích thước và thông số chính xác mà người Mỹ cần
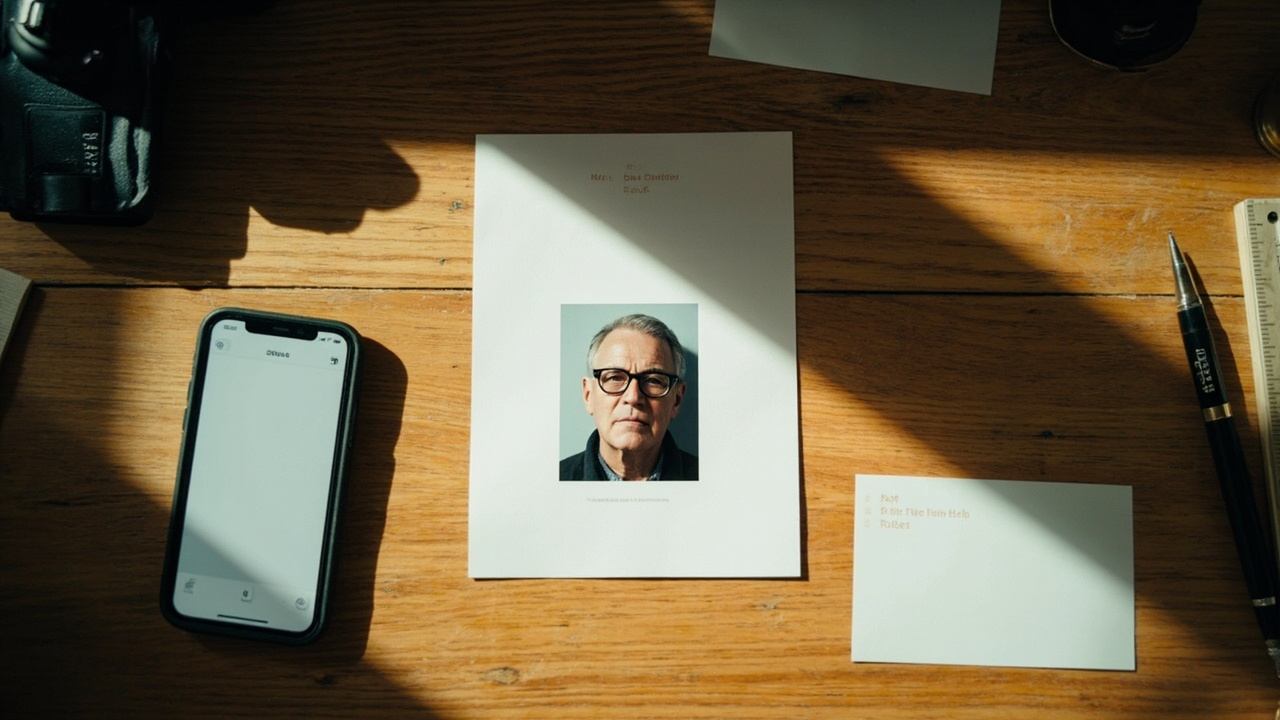
Một ảnh chân dung vuông, chụp gần đây trên nền trắng đơn giản, lưu dưới dạng JPEG với dung lượng dưới 2 MB. Đó là toàn bộ thông số ảnh eVisa Campuchia dành cho người Mỹ vào năm 2026 — và bạn có thể chụp nó ngay cửa sổ bếp trong năm phút với chiếc điện thoại trong túi.
What are the Cambodia eVisa photo requirements for Americans?
A recent passport-style headshot taken in the last 6 months, on a plain white or off-white background, with your full face visible, eyes open, and a neutral expression — no smile, no glasses, no hats. Save it as a JPEG, ideally 600×600 pixels or larger and squared off, with the file size under 2 MB. A phone photo taken against a white wall in daylight passes the upload check every time. The two specs Americans miss most often are the HEIC file format (iPhones default to it — convert to JPEG first) and a smile, which the upload validator auto-flags.
Những điểm chính cần ghi nhớ
The photo must be a recent (last 6 months) headshot on a plain white or off-white background, face centered, eyes open, neutral expression — no smile, no glasses, no hats.
Save it as a JPEG, ideally 600×600 pixels or larger, and keep the file under 2 MB. A square crop is the safest aspect ratio for the upload form.
iPhones default to HEIC — convert to JPEG before you upload, because HEIC is the single most common file-format snag for American applicants.
The most common auto-flags are smiles, glasses of any kind, off-white walls, shadows behind the head, and resolution below 600 pixels.
A clean phone photo against a white wall passes every time. You do not need a photo booth, a drugstore print, or any paid app.
The photo spec in one screen
The Cambodia eVisa photo is one of the simplest passport-style photos any US traveler will ever shoot, and it is also the single field that bounces the most American applications back for a fix. Both of those things are true because the rules are short but strict: a recent headshot, a plain white background, a neutral face, and a JPEG under 2 MB. Miss any one of those and the upload validator flags it before a human ever sees the file.
You do not need a drugstore photo counter, a passport-photo booth at the post office, or any paid app. The phone in your pocket already shoots at a higher resolution than the form requires. What trips Americans up is almost never the camera — it is the small stuff: a faint smile, thin-rimmed glasses, an off-white wall that reads as gray, or an iPhone quietly saving the file as HEIC instead of JPEG.
This guide gives you the exact size, pixel, and file specs Cambodian Immigration enforces, walks you through shooting a compliant photo at home, and lists the auto-flags that cost an American applicant a day. When you are ready, you can apply in a few minutes — the photo is one of five things you upload, and our full US application walkthrough shows you what every other field looks like.
Cambodia eVisa photo: at-a-glance DOs and DON'Ts
Acceptable
Plain white or off-white background, no shadows
Full face centered, eyes open, looking at the lens
Neutral expression, mouth closed, no smile
Even side daylight, no shadows on face or wall
Recent shot, taken within the last 6 months
JPEG, square, at least 600×600 pixels, under 2 MB
Rejected
Gray, colored, or cluttered background
Glasses of any kind, even thin readers
Hats or head coverings (religious wear must show full face)
A smile, teeth showing, or laughing
Filters, beauty mode, or an arm's-length selfie
iPhone HEIC files or anything under 600 pixels
The exact size, pixel, and file specs
Here is the full spec list, in the order it matters. Get these five right and the photo clears the upload check on the first try. The form accepts a square image, so a 600×600-pixel JPEG is the safe target — it satisfies the resolution floor and the squared aspect ratio at once.
Dimensions and pixels
Aim for a square photo, at least 600×600 pixels. That maps to the standard 4×6 cm passport-style print at a comfortable resolution, but you never have to print it — the eVisa is fully digital. If your image is rectangular, crop it to a square in your phone's Photos app before uploading so your head sits centered with a little headroom above and a little space at the shoulders. Anything below 600 pixels on the short side is the most common resolution flag.
File format and size
JPEG, under 2 MB. This is where iPhones cause the most trouble for Americans: by default, recent iPhones save photos as HEIC, not JPEG, and the upload form expects a JPEG. If your iPhone is set to "High Efficiency," either switch the camera setting to "Most Compatible" before you shoot, or convert the finished photo to JPEG afterward. Android phones generally save JPEG out of the box, so the format is rarely an issue there. Keep the final file under 2 MB — modern phone photos can run larger than that, so a light compression or a square crop usually brings it under the ceiling.
Background, face, and expression
A plain white or off-white background, no patterns, no furniture, no shadows. Your full face visible and centered, eyes open and looking straight at the lens, a neutral expression — no smile, no teeth, no laughing. No glasses of any kind, even thin frames or readers. No hats or head coverings except those worn daily for religious reasons, and even then the full face must be visible. Recent, meaning taken within the last 6 months. Natural color, no filters, no beauty mode.
If you want the same specs framed as a complete photo checklist with an at-home setup diagram, our companion photo requirements guide for US citizens lays it out card by card. For the deeper file mechanics — millimeters to inches, JPEG versus HEIC, and how to compress an oversized photo — see the dedicated photo size and file format breakdown.
How to take a compliant photo at home in 5 minutes
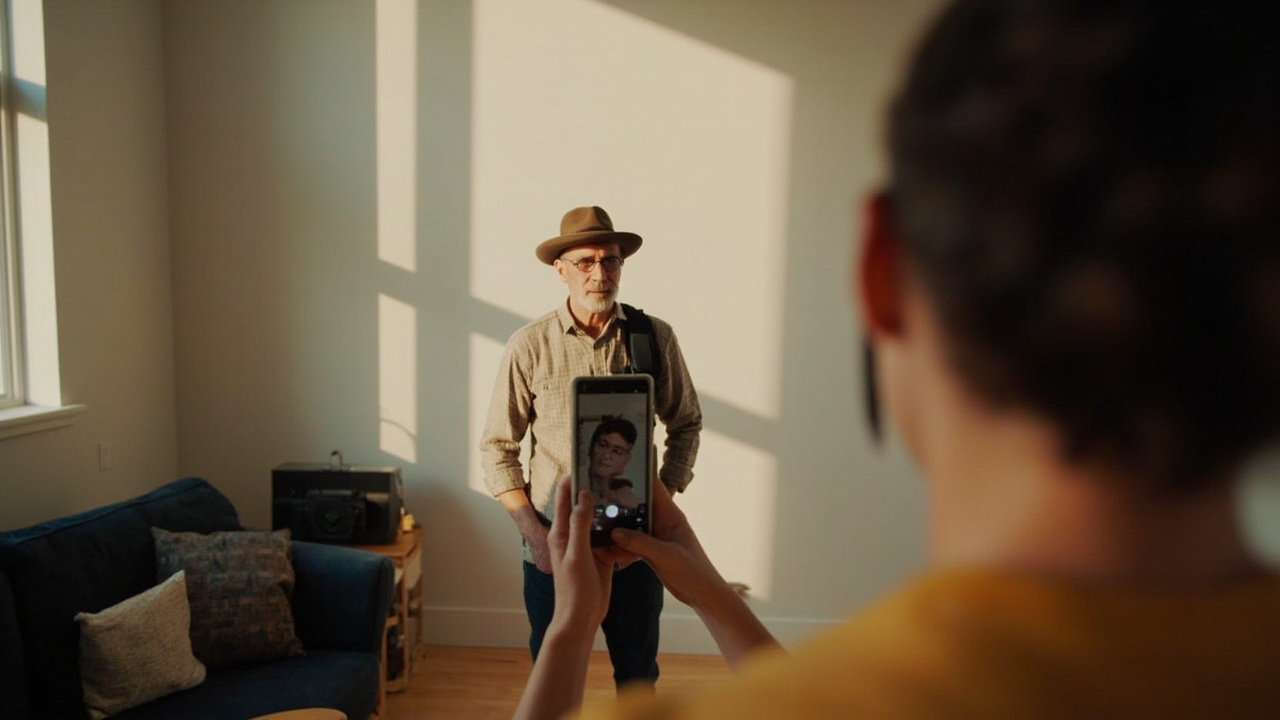
A phone camera and a plain white wall is the setup most American applicants use, and it produces a clean compliant photo every time when you follow a short routine. No booth, no print, no paid service. Five minutes at a sunny window does it.
Find a plain white wall — interior paint is ideal, but a closed white door or a white sheet pinned flat works too. Stand about a foot and a half from the wall, not pressed against it, so there are no shadows behind your head. Face a window where daylight comes in from the side, not directly behind you, so your face is lit evenly and the wall stays white. Mid-morning or mid-afternoon is best. Avoid evenings, when warm indoor light turns a white wall yellow.
Use the rear camera, not the selfie camera, and hold the phone in portrait orientation at eye level. Get someone else to press the shutter if you can — arm's-length selfies distort facial proportions and the validator catches that. Look straight at the lens with a relaxed, neutral expression. Take the glasses off, remove any hat, and tuck your hair behind your ears if it covers your face. Shoot five or six frames and pick the best one.
Then crop to a square in the Photos app so your head is centered with a little headroom, confirm the file is a JPEG under 2 MB, and you are done. Do not run it through a filter, beauty mode, or any editing that smooths skin — the validator looks for natural skin texture and rejects heavily processed photos. iPhone users: this is the moment to convert HEIC to JPEG if you did not change the camera setting first.
The auto-flags that cost Americans a day
The upload form runs an automatic check on your photo before submission, and the same handful of issues account for nearly every flag on American applications. None of them are hard to avoid once you know the list — they just need a second look before you hit upload.
A smile. Americans are conditioned to smile for the camera, and a neutral expression feels unnatural — but any smile, even a slight one with no teeth, gets flagged. Relax your face completely.
Glasses. Any frames at all, including thin wire rims and readers, are rejected. Take them off, even if you wear them every day.
Off-white or colored backgrounds. A wall that looks white to your eye can read as gray or cream to the validator, especially in warm indoor light. Shoot in daylight against true white.
Shadows behind the head. Standing too close to the wall, or lighting from one harsh side, throws a shadow that the check reads as a non-uniform background. Step forward and use soft side daylight.
Low resolution. Anything under 600 pixels on the short side is flagged. This usually happens when a photo has been forwarded through a messaging app that compresses it — use the original file.
Wrong file format. An iPhone HEIC file the form will not accept, or a screenshot saved as PNG. Export a real JPEG.
Hats, head coverings, or hair across the face. The full face has to be visible from the top of the forehead to the chin.
Filters and beauty mode. Heavily smoothed skin reads as a manipulated image and gets bounced.
If a photo does get flagged, it is not the end of your application — you simply re-upload a corrected version, with no extra charge, and the clock keeps running. Our guide to fixing a rejected Cambodia eVisa photo walks through each flag and the exact correction, and the photo rules sit inside the broader required documents checklist for US citizens if you want to see how the photo fits alongside your passport scan and email.
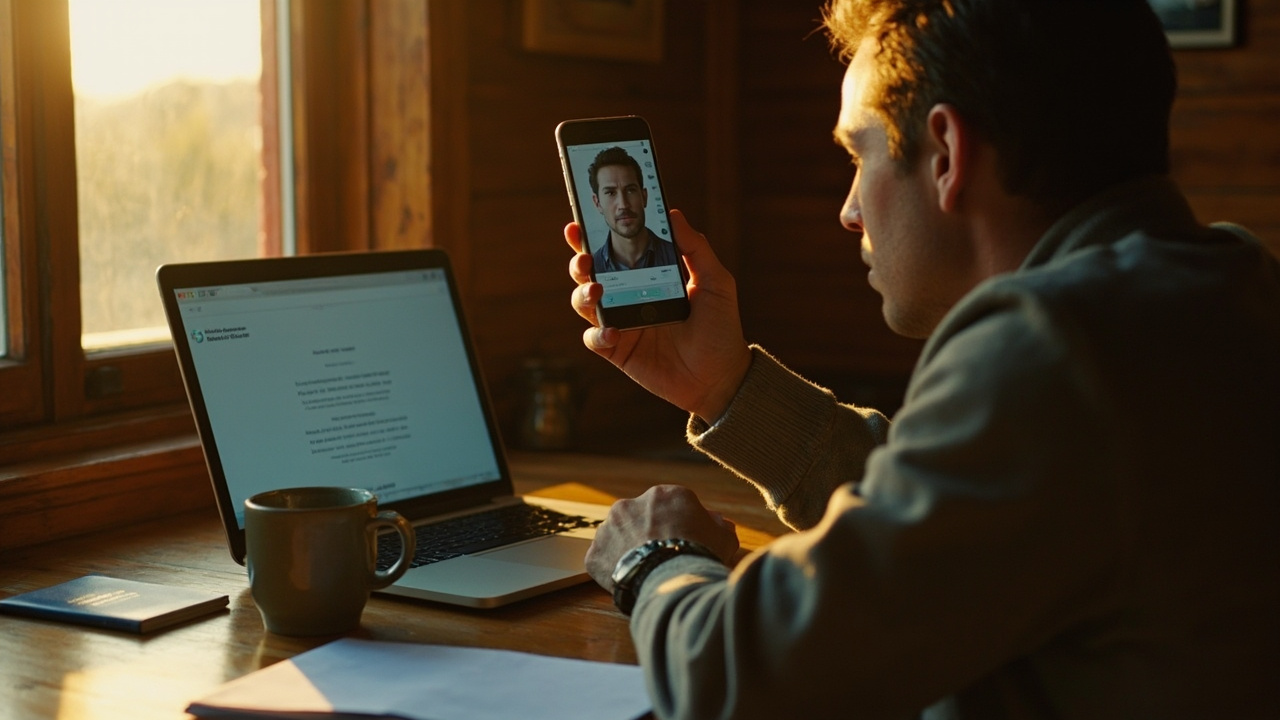
Get the photo right, then apply
The photo is the one field worth a careful second look before you submit, because it is the field most likely to send a file back. Spend the extra two minutes: true white wall, neutral face, glasses off, square JPEG under 2 MB, and confirm it is not a stray HEIC. Get those right and the photo clears on the first pass.
Once the photo is sorted, the rest of the eVisa is light. Tourist eVisa is $80 USD all-in, Business eVisa is $90 USD all-in, both approved in 3 business days and delivered as a printable PDF by email, both with free resubmission if Immigration flags a correction, and both backed by US-timezone support. There is no return flight, hotel booking, or bank statement to upload — the photo and your passport scan do most of the work.
What size does the Cambodia eVisa photo need to be?
A square photo, at least 600×600 pixels, is the safe target. That matches the standard 4×6 cm passport-style format at a comfortable resolution, but you never print it — the eVisa is fully digital. Crop a rectangular phone photo to a square so your head is centered with a little headroom, and keep the file under 2 MB.
What file format does the Cambodia eVisa photo have to be?
JPEG (.jpg), under 2 MB. This is the spec Americans miss most often, because recent iPhones default to saving photos as HEIC. Either switch your iPhone camera setting to "Most Compatible" before you shoot, or convert the finished photo to JPEG before uploading. Android phones usually save JPEG by default.
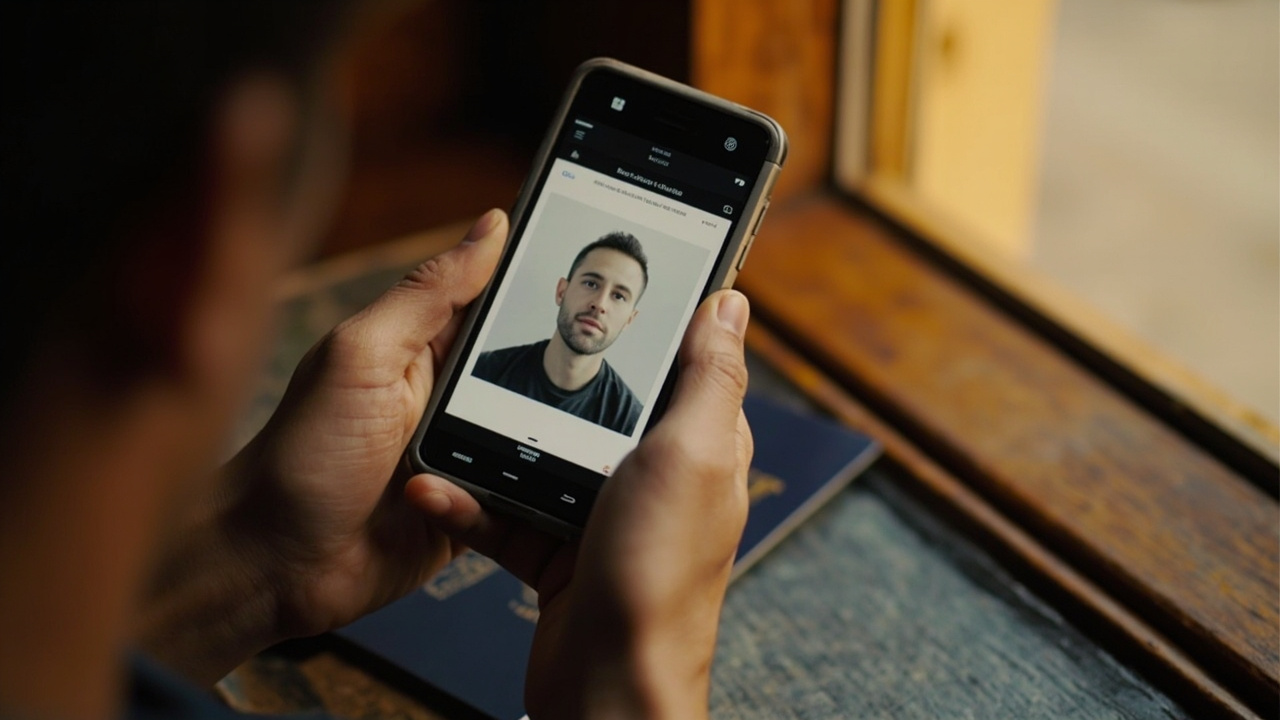
Can I use a photo I took on my phone?
Yes — most American applicants do exactly that. Use the rear camera (not the selfie camera), hold the phone in portrait at eye level, stand about a foot and a half from a plain white wall, and use daylight from a side window. Neutral expression, no glasses, no hats. Save as a JPEG under 2 MB, ideally 600×600 pixels or larger, and do not apply filters.
Can I smile in my Cambodia eVisa photo?
No. The expression must be neutral — eyes open, mouth closed, no smile, no teeth. Even a slight smile gets auto-flagged at upload. Relax your face completely and look straight at the lens. This is the single most common flag on American applications, simply because we are used to smiling for the camera.
What background does the photo need?
A plain white or off-white background, with no patterns, furniture, or shadows. A wall that looks white to your eye can read as gray under warm indoor light, so shoot in daylight against true white. Stand about a foot and a half from the wall so there are no shadows behind your head, and light your face from a side window rather than directly behind you.
Can I wear glasses in the photo?
No. Glasses of any kind — including thin wire frames and reading glasses — are rejected. Take them off for the photo, even if you wear them every day. Hats and head coverings are also not allowed, except those worn daily for religious reasons, and even then your full face must be visible from forehead to chin.
What happens if my Cambodia eVisa photo gets rejected?
You re-upload a corrected version at no extra charge, and the 3-business-day clock keeps running. Free resubmission is part of the all-in price, so a flagged photo costs you a few minutes, not money. The usual fix is a fresh shot against a true white wall in daylight with your glasses off, exported as a JPEG under 2 MB.
Do I need a professional or printed passport photo?
No. You do not need a photo booth, a drugstore print, or any paid app. A clean phone photo against a white wall in daylight passes the upload check every time. Because the Cambodia eVisa is fully digital, you only ever upload the image file — there is nothing to print and nothing to mail.
Hannah điều hành bộ phận Từ chối và Nộp lại tại VisaToCambodia. Cô ấy đã phân tích hàng ngàn hồ sơ eVisa Campuchia bị đánh dấu kể từ năm 2021 và viết hướng dẫn tuân thủ ảnh giúp các đơn đăng ký của người Mỹ đạt ngay từ lần đầu tiên.