Cambodia eVisa Photo on Your iPhone at Home: 2026 Aussie Self-Take Guide
How to shoot a compliant Cambodia eVisa photo on your iPhone or Android in your own home, Aussie-style. The wall, the window, the Portrait-mode trap, the JPEG export, and the crop — all in about ten minutes.
How do I take a Cambodia eVisa photo at home on my iPhone or Android?
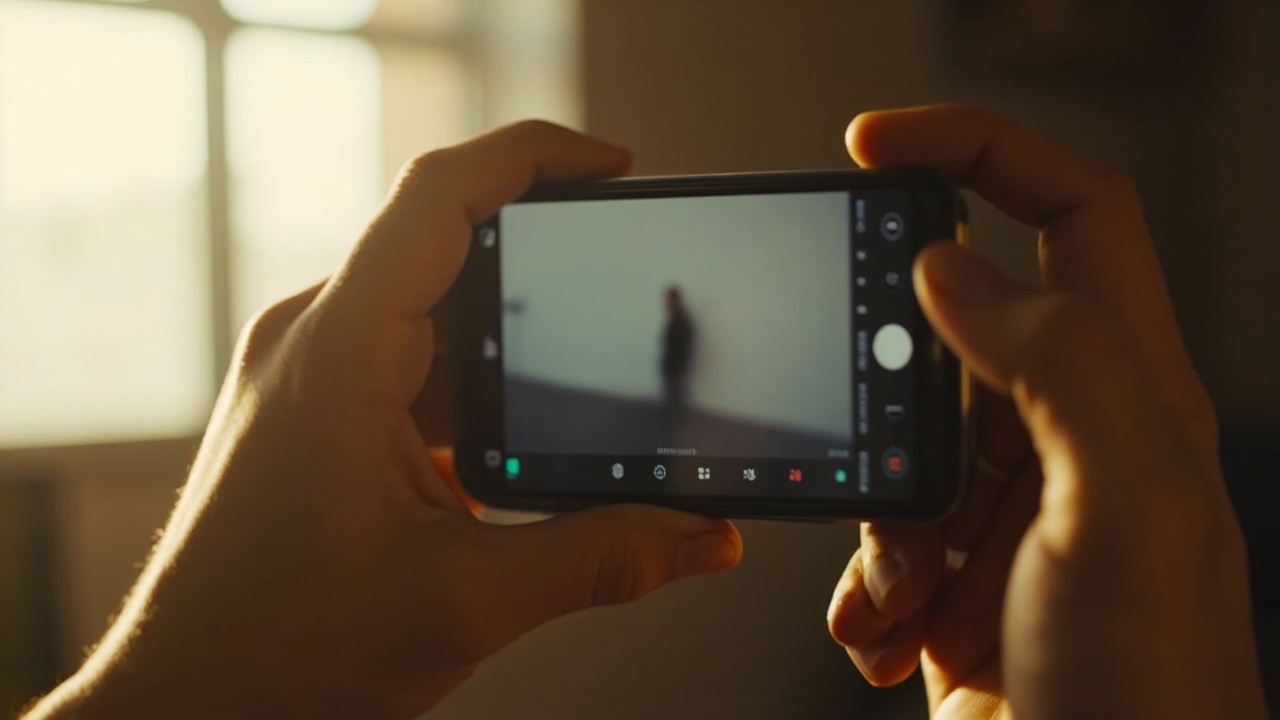
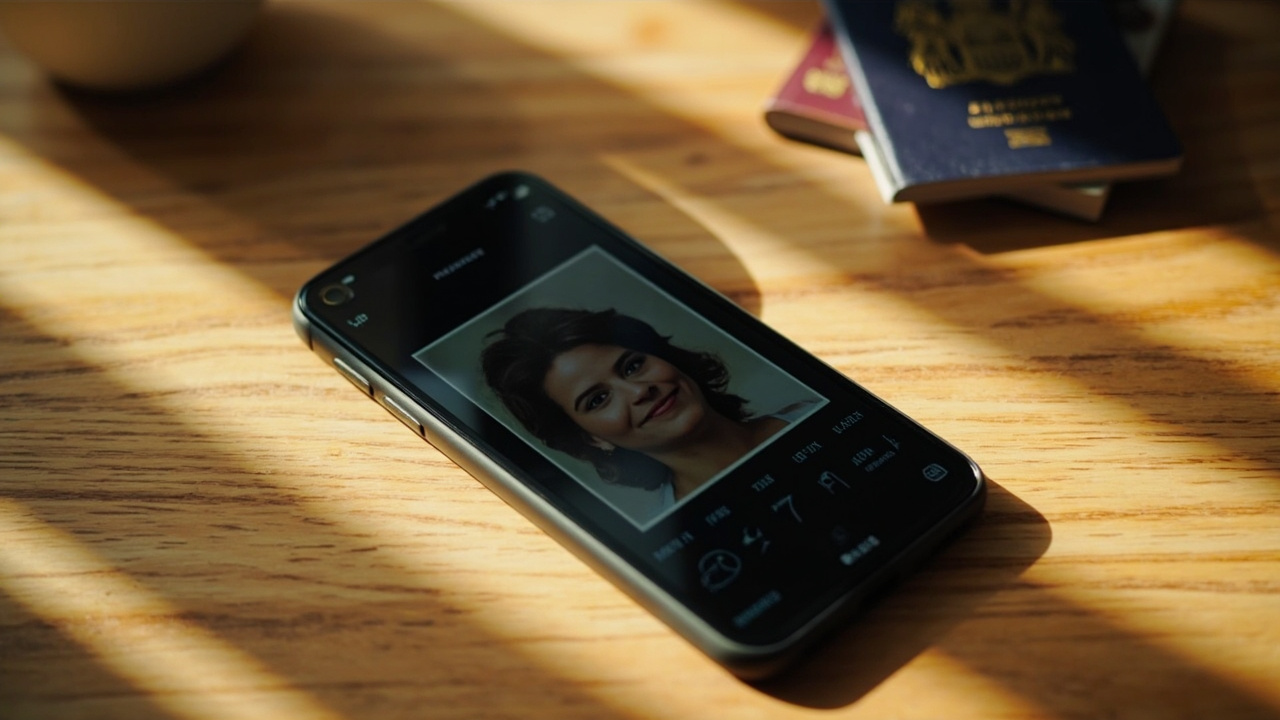
Stand 1.5 metres in front of a plain white wall in your home. Face a north-facing window for soft daylight between 10 am and 3 pm. Get a partner or housemate to hold the phone at eye level in the default Photo mode (not Portrait mode) and shoot four or five frames. Take your glasses off, keep your expression neutral with mouth closed, ears and jawline visible. Export the sharpest frame as JPEG under 2 MB, then crop in the iOS Photos app or Google Photos so the face fills 70 to 80 percent of the vertical frame. Total time about 10 minutes, with a roughly 85 percent pass rate at the Cambodia eVisa upload step.
Những điểm chính cần ghi nhớ
- A standard iPhone or Android phone takes a perfectly compliant Cambodia eVisa photo when you stand 1.5 metres from the camera, face a north-facing window in daylight, and shoot against a plain white wall.
- Portrait mode is the single most common reason a self-take photo gets bounced — the blurred-edges effect breaks the Cambodian validator. Use the default Photo mode, not Portrait.
- Cambodian Immigration wants a 35x45 mm equivalent crop, plain white or off-white background, ears and jawline visible, no glasses, no shadows behind the head — same spec the Australian passport office uses, with a slightly larger crop.
- Daylight saving in Aussie summer adds an extra hour of usable window light in the late afternoon — schedule the shoot between 10 am and 3 pm year-round if you can.
- Export as JPEG under 2 MB, minimum 600x600 pixels, then crop in the iOS Photos app or Google Photos so the face fills 70 to 80 percent of the vertical frame. Three taps, done.
- Around 85 percent of Aussies pass on the first DIY phone-photo attempt when they follow the wall, window, distance, no-glasses, Photo-mode rules in this guide.
Why most Aussies can self-take this one at home
Nine out of ten Australians applying for a Cambodia eVisa already own everything they need to take a compliant photo at home: an iPhone or Android less than five years old, a plain wall somewhere in the house, and a window that lets daylight in. The trip to the chemist for a passport photo, while perfectly fine, is genuinely optional. About 85 percent of Aussies pass on the first DIY attempt when they follow the small list of rules in this guide. The remaining 15 percent get bounced and lose one to two business days off their processing window — but a re-shoot at home costs you another ten minutes, not another twenty dollars.
This guide is the room-by-room walkthrough. Wall prep, window choice, camera distance, the Portrait-mode trap that catches roughly half of all rejections, the file-size and JPEG rules, and the iOS Photos or Google Photos crop. If you want the underlying spec first, the Cambodia eVisa photo requirements guide for Australians covers the dimensions, the rules on glasses and head coverings, and the rejection reasons end-to-end. Our Cambodia eVisa for Australian travellers pulls all the pieces — cost, documents, processing — into one place.
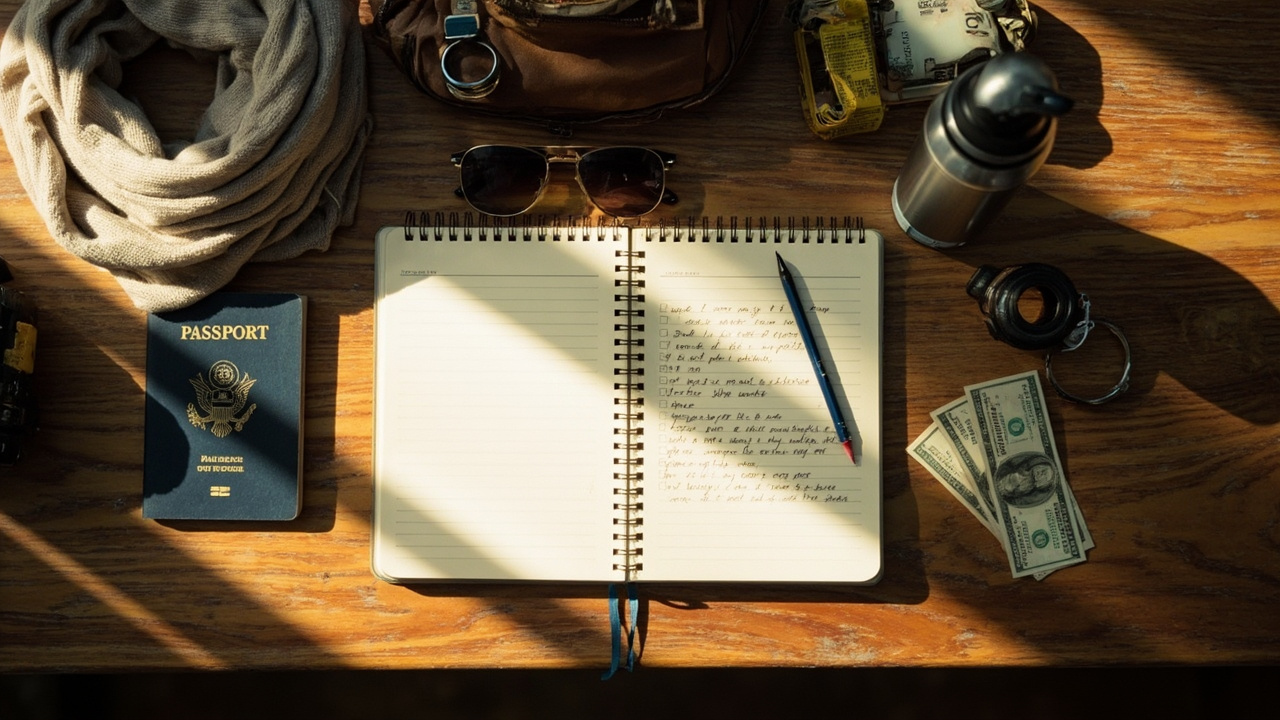
If you have not started the eVisa form yet, the Do Australians Need a Cambodia Visa primer is the first stop, and the desktop application walkthrough for Australians is the cleanest step-by-step for the actual form. The photo is one of five documents — the others are the bio-page scan, your AU address, your flight or itinerary outline, and the e-Arrival Card filed within seven days of your flight.
The Cambodia eVisa photo spec at a glance
The Cambodian Immigration photo spec lines up closely with the Australian passport-office spec, with two differences. Cambodia wants a slightly larger crop than the AU 35x45 mm passport spec (4x6 cm in the print spec, but the digital upload accepts a 1:1 or close-to-square ratio at 600x600 pixels minimum), and Cambodia is stricter on the background colour — pure white or very light off-white, never magnolia, cream, beige, or grey. Everything else is the same.
Câu hỏi thường gặp
Can I take a Cambodia eVisa photo on an iPhone at home?
Yes — about 85 percent of Aussies pass on the first DIY iPhone attempt when they follow the white wall, north-facing window daylight, 1.5-metre distance, default Photo mode (not Portrait), no glasses, neutral expression rules. The biggest single trap is Portrait mode — switch the camera back to default Photo mode before the shoot. Second-biggest trap is HEIC file format — switch your iPhone camera Format to Most Compatible in Settings so it saves as JPEG.
Does Portrait mode work for a Cambodia eVisa photo?
No. iPhone Portrait mode and Samsung Live Focus blur the background behind the head, which breaks the Cambodian validator's edge-detection check on the head-to-background boundary. Use the default Photo mode in the standard camera app. This is the single most common reason an Aussie self-take photo gets bounced. If you have already submitted a Portrait-mode photo and it has been flagged, re-shoot in default Photo mode and resubmit.
What's the best room in an Aussie home to take the photo?
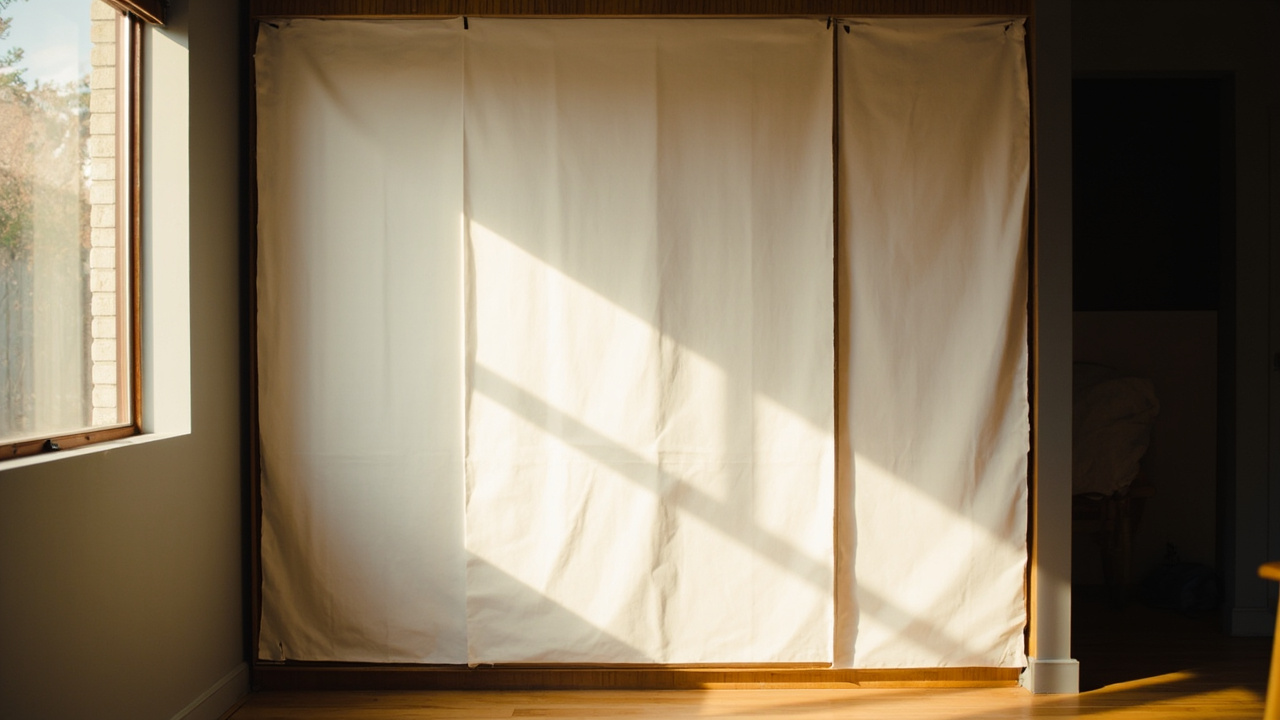
Any room with a true-white wall (Vivid White, not Antique White or Hog Bristle) and a window facing north, east in the morning, or west in the afternoon. The lounge or main bedroom usually has both. If no wall in the house is true white, drape a flat white bedsheet over a wardrobe door — that gives a cleaner background than most Aussie house walls. Position yourself 50 cm in front of the wall to keep your shadow off the background.
What time of day is best for the photo in Australia?
Between 10 am and 3 pm year-round gives the softest, most consistent daylight regardless of season or state. During daylight saving (October to April in NSW, VIC, TAS, ACT, SA), you also get an extra usable hour from 4 pm to 5 pm with a west-facing window. In WA, NT, and QLD where there is no daylight saving, stick to the 10 am to 3 pm window. Avoid hard direct sunlight — diffuse it with a thin white sheet across the window if needed.
How do I switch my iPhone from HEIC to JPEG?
Open Settings, tap Camera, tap Formats, and switch from High Efficiency to Most Compatible. From that moment, every photo your iPhone takes will save as JPEG instead of HEIC. The Cambodia eVisa portal rejects HEIC at upload, so this switch is non-optional unless you plan to convert each file manually. You can switch back to High Efficiency after the visa is approved if you want to save phone storage.
How do I crop the photo to the Cambodia eVisa spec on my phone?
Nguồn
Did this guide help you?
Từ blog của chúng tôi
Lập kế hoạch chuyến đi
Những Điều Cần Biết Trước Khi Đến Campuchia: Danh Sách Kiểm Tra Cho Người Mới Đến là Người Mỹ
Chuyến đi đầu tiên đến Campuchia? Dưới đây là danh sách kiểm tra thực tế cho người mới đến là người Mỹ — thị thực, đặc điểm sử dụng đô la Mỹ, thực trạng an toàn, vaccine, quy định trang phục khi tham quan đền, và cảnh thực tế khi đến sân bay mới vào năm 2026.
Kết Hợp Quốc Gia
Thái Lan đến Campuchia năm 2026: Tại sao Bạn Phải Bay (Cửa khẩu đường bộ đóng cửa) dành cho người Mỹ
Tất cả bảy cửa khẩu đường bộ giữa Thái Lan và Campuchia đã đóng cửa kể từ tháng 6 năm 2025, vì vậy trong năm 2026, cách duy nhất để người Mỹ từ Thái Lan vào Campuchia là bay. Dưới đây là cách hoạt động của các tuyến Bangkok-Siem Reap và Bangkok-Phnom Penh, thị thực điện tử Campuchia bạn cần trước khi lên máy bay, và lý do kế hoạch đi bộ qua Poipet cũ không còn tồn tại.
Lập kế hoạch chuyến đi
Cách Di Chuyển từ Phnom Penh đến Siem Reap: Xe Khách, Máy Bay hoặc Phà dành cho Người Mỹ
Ba cách để di chuyển 195 dặm giữa thủ đô Campuchia và Angkor Wat: xe khách chạy nhanh $15, chuyến bay 45 phút, hoặc phà đường sông chậm. Dưới đây là chi phí thực tế, thời gian di chuyển của từng phương tiện dành cho du khách Mỹ, và phương án nào phù hợp với chuyến đi của bạn.